


Using Photos in the IntellCRE Brochure Builder
Introduction to Photos
Hey everyone.
In this tutorial, we’re going to explain everything that you need to know about photos: how to upload them into the platform, how to manage photos, how to use stock photos, and how to build photo pages for your brochures, how to build photo grids, and how you can use the IntellCRE photo editor, photo outliner, photo AI enhancement, and all of that to create beautiful photo pages for your brochures.
Uploading and Managing Photos
Let’s first look at how to get photos into the system.
When you’re creating your deal, you’re in one of the first steps, you’re uploading your deal documents.
In that very step, you can upload all the photos you have for the deal.
They’re going to live in your photo library.
Your photo library can be accessed in the builder directly simply by clicking this icon.
So every time you basically want to add a photo, you open your photo library.
These are all the photos for your property.
You have filters by who uploaded them, where the photos are used.
You can also choose to display photos that you’ve used or uploaded for other deals.
This is especially useful when, let’s say, you want to use an image or photo of a market that you’ve used in a previous deal, right?
You can find it here.
So, let’s filter back to current properties.
These are all the photos that we have uploaded.
If you need to upload more, you simply take a photo and upload it right here.
It’s going to live in your photo library here, and you’re going to be able to select it as a photo in any image module in your brochure.
Using Stock Photos
One last thing regarding the photo library, there’s also a stock photo option.
So, if you don’t have enough photos or you’re looking for more photos, you can click Stock Options.
You can search.
Let’s say I want a nice lobby image.
We license photos across various stock photo libraries.
You can filter by orientation.
Let’s say I’m looking for a market photo of San Diego.
So I can choose from these photos and use them as I need to.
Okay, so that’s photo library.
That’s how you can upload photos, and that’s how you can easily use photos in your brochure.
Adding Photos to Brochure Pages
Now, let’s actually delete this photo, and let’s go over how you’re actually adding photos to your brochure pages.
So, you click Add Module and you click Image Module.
You’re going to be able to place this image anywhere on the grid.
You can be guided by the marks, the mark for the horizontal and vertical half of the page, third of the page, fourth of the page, and so on.
And also you see sort of the padding. The red area is where we should not be placing any modules.
So I’m going to place the module here, and I’m going to click the corner to drag it basically to span the entire page.
Okay.
So now when I want to add a photo in here, I’m going to click this icon and I’m going to choose from the photo.
So I’m going to, let’s say, choose this photo, and it’s going to appear right here.
Image Module Options
Before we go to show how you can create a grid, let’s go over the basic options here.
This icon down here is basically showing you whether you want the photo to cover the entire module or whether you want to contain the photo.
Contain.
You see that not the entire module is covered with the photo, but it shows the entire photo.
You can also use the left and right half as needed.
You can add several options to the photo.
On the right side here, you can see the alignment options.
You can choose the opacity for the photo.
You can add a border to the photo.
Let’s say I add an orange border, and it’s going to be basically from all sides.
And you see now I have an orange border, just like that.
You can add an image overlay.
This is very important.
I’m going to choose a color, and I’m going to choose an opacity of that overlay.
You can either have a solid overlay, or you can use the gradient version, choosing the starting color and the end color, choosing the gradient opacity, and choosing the gradient position on the photo like that.
You can also flip the gradient by clicking on this icon right here.
And you can also choose between vertical and horizontal gradient options.
If you don’t want to use the image overlay, you simply disable that.
Creating a Photo Grid
Now let’s look at how we can manipulate this photo using the photo editor.
But before that, let’s actually look at how we can create a grid.
Let’s say I want to create a grid of four photos.
And I want to actually include a photo on the background of the page as well.
A quick option for adding a background image is directly in the options for the page. You have a Background Image option here.
So when you click Add Background Image and you click and choose a photo from your library, or you drag and drop a photo here, that is going to basically add a background image to this slide.
But I want to show a different method.
I want to show a method where I actually take this photo, make it span the entire page, and that is actually the method for me creating a background image for this page.
I don’t like this image so much, so let’s choose a slightly different image.
So maybe we’ll use this one.
Very good.
Now you see I have the photo on the background.
On the bottom right side here, you see Modules, Layers, and you see that this image is actually the layer that’s the lowest Z index.
So everything else is in front of that image.
Okay, that’s the way we want it.
Building a Four-Photo Grid
Now I’m going to add an image overlay with a slightly more background opacity.
Just like that.
And now I want to make sure that I switch the colors of the header and of the footer to white.
So this is more visible, and also the logo here.
I have the white version of the logo, just like that.
Okay.
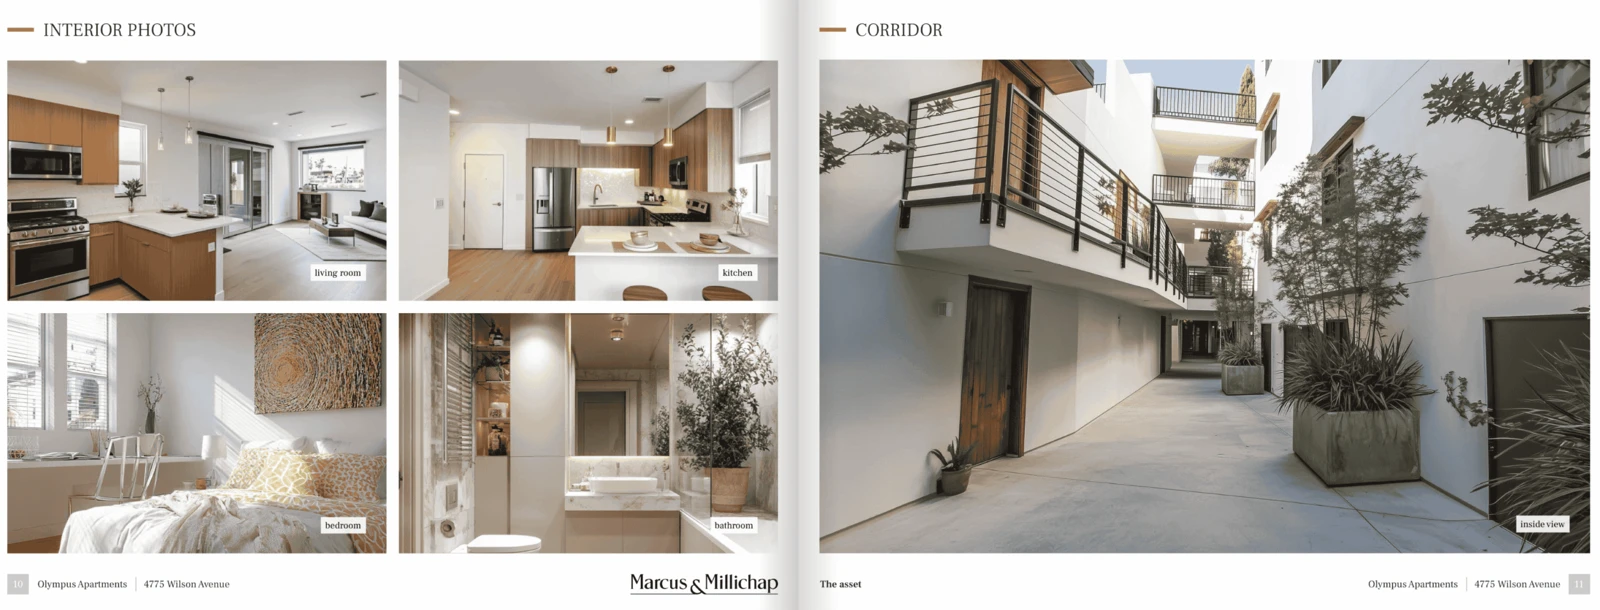
Now let’s create a grid of four photos on this page.
So I’m going to Add Module, Image.
And you can use these markers to basically place this module so that its corner is in the center of the screen.
And then you can resize as needed.
If you want to, I’m going to add some image here.
Just like that.
And now, if you want to create a grid of four photos, you have several options.
If you’re not using the quick layouts where a grid like that is already available, you can basically align this photo with the padding on here or starting from the marker.
And having that image selected, you can use arrows to move any module, but also the image module, by one pixel up or left.
So I’m going to do four up: one, two, three, four.
And four left: one, two, three, four.
Okay.
Now what I’m going to do is I’m going to duplicate this photo and I’m going to again place it here.
And then I’m going to click four down: one, two, three, four.
And four to the left: one, two, three, four.
Okay.
Just like that.
Now, if I want to create the remaining half of the grid, I’m going to click this photo module and, holding Shift, click the other module.
So, you can do this with any number of modules.
Basically, selecting a group of modules and then Ctrl+C, Ctrl+V.
And now I’m placing the copy of this, and I want to make sure that they’re going to touch the boundary here, just like that, or that they’re going to be in the same distance from the center like that.
Okay.
So now I have a grid of four photos like that.
Creating Different Photo Layouts
Okay.
We created a beautiful photo grid.
And now if we need a grid of three or two or something like that, we can always do that.
So I can delete this one, and I can make this photo basically span.
I can create a three grid like that.
Or alternatively, I can create a page where half of the page is the photo by doing something like that.
Using the Photo Editor
Now let’s look at the photo editor and how you can build an outline.
For that, let’s actually create a new page, or let’s show this one.
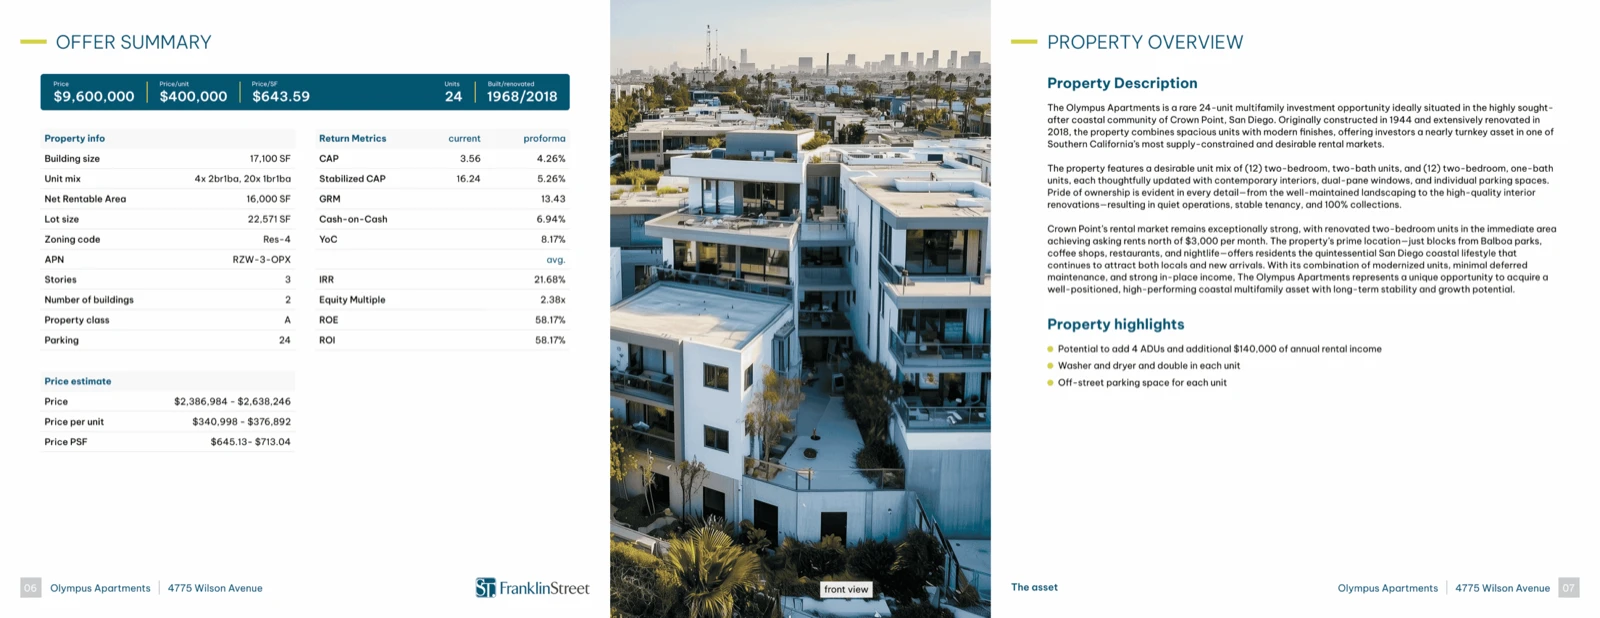
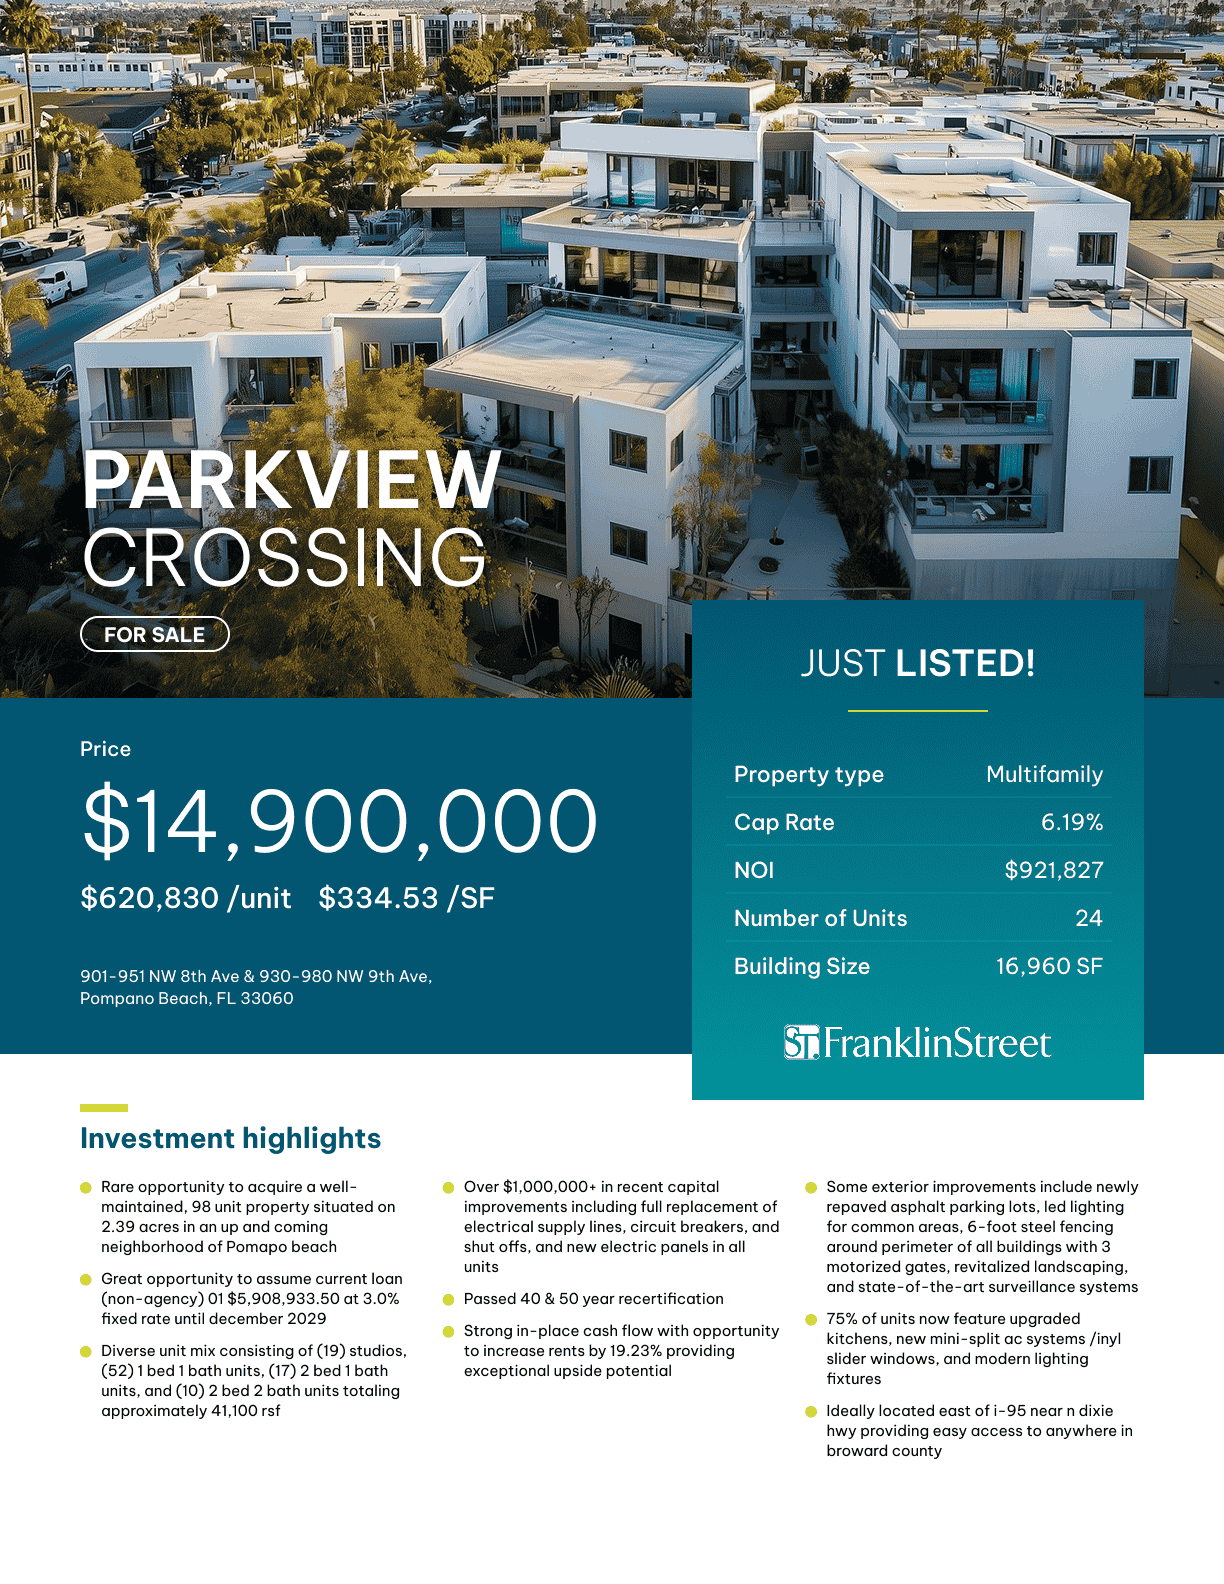
How did we create beautiful cover pages like this?
So, it’s just one photo, and then there’s a text module on top of it.
I’m going to make this text slightly smaller.
Slightly bigger, right?
And how do we create a page like this?
What I did was I placed a photo module spanning the entire page, and then I basically selected the photo for it, which was this original photo.
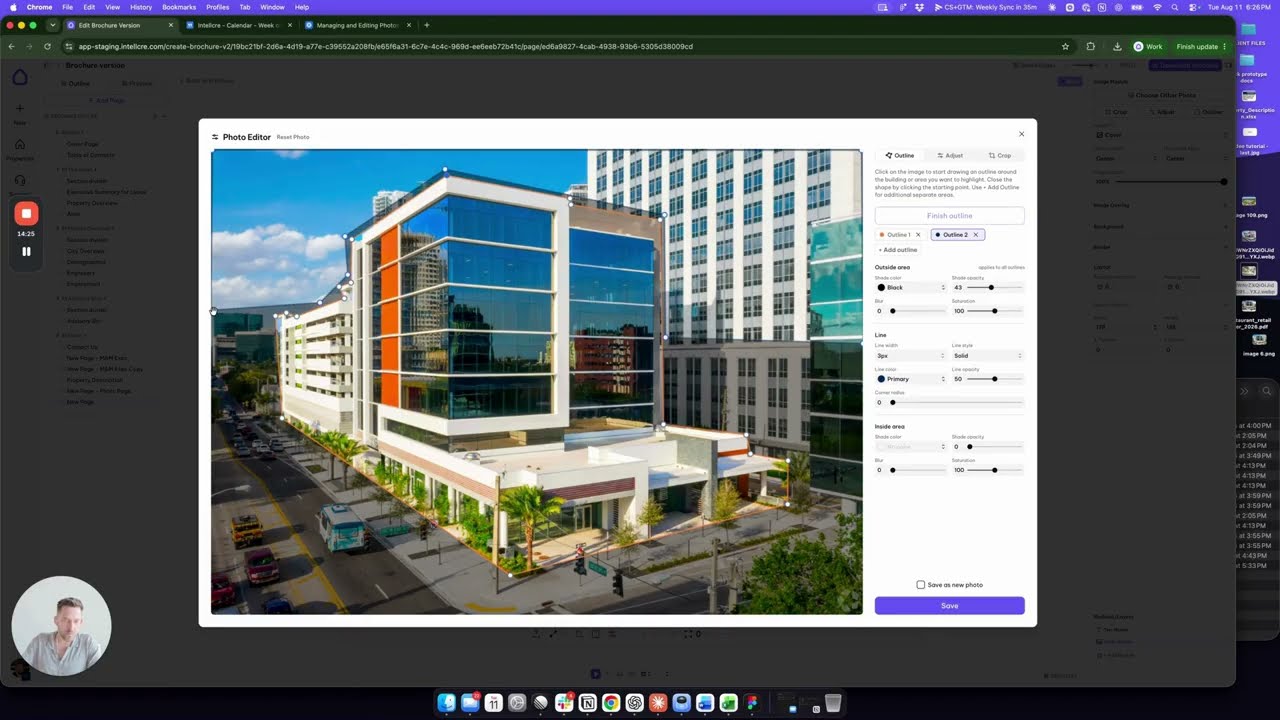
I’m going to show you how you can use both the photo editor in-app as well as the outline to make a photo like that.
So we’re going to click this icon here, which is Adjust Image, and this opens the photo in the photo editor.
Cropping and Adjusting Photos
Now, several things you can do in the photo editor.
You can crop.
You can use the crop functionality or, basically, depending on where this picture is going to be, you can do it like this.
Right?
So I’m going to crop it.
And the other thing we can use is Adjust.
So I can adjust the colors.
See before and after as I do the adjustments.
You can adjust the contrast, grayscale, saturation, all of that.
Once you have a photo that’s edited that you want to use, you can either click Save and override the original photo, or you can use Save as a New Photo.
In that case, you’re saving the original photo, but you’re also saving the new one.
So, depending on your preference, you can do that.
Whenever you want to go back with the adjustments, you simply click Reset Photo.
AI Photo Enhancement
We also have a feature that’s AI Enhancing Photo.
So when I click this, it’s going to run for maybe one minute, and the system is going to determine the best setting and adjustment for this photo to make it better.
So, especially useful when you have photos with wrong light or something like that, fuzzy photos.
You can use this to AI enhance the photos in-app.
You don’t have to leave the platform or anything to get the best results for your photos.
Using the Photo Outliner
Now finally, let’s look at the outline.
So whenever, if you have a parcel and you want to outline it, or you have a building and you want to make it special in any case, in any way, you can use the outlines here.
So, clicking Add Outline, and now we’re going to click the boundary of the outline.
I’m going to basically do this quickly for the sake of the time here.
But let’s say I basically outline this building like that.
And once you close the loop, you create an outline.
You can control the outer area of the outline, outside area right here.
You can choose the color and then the shade opacity that we’re using.
You can make the outside blurry.
You can play with the saturation, all of that.
You can control the line that is creating the outline: line width, line style, line color, line opacity, and things like that.
Corner radius as well — how curvy the outline is going to be.
Then you can also control the inside area.
So I’m going to increase the saturation of the inside area, just like that.
And I’m going to save this photo.
Creating Custom Photo Effects
Now, I want to show you one more thing, which is super cool.
I’m going to add another outline that is basically going to go from here to here, to here, to here.
And I’m going to create — I’m not doing this perfectly, but I’m doing this just to demonstrate something.
And I have a new outline up here.
I can choose the inner area of that outline to basically make it, let’s say, completely dark or completely white by choosing the white color.
Completely white.
Okay.
Save.
Let’s look at the result.
So this is a very large photo.
It takes a few seconds to apply all the changes and give me the final photo.
But this method can be used not only to make your property pop up from the image, especially useful for cover pages, for instance, but it can also be used to make a very designer-looking result for the photos.
So, look at this, right?
This is just for demonstration.
But when you have a building and you make it stand out, and then half of the area behind the building is white or black, and then you put some text on it and things like that, that looks very good.
So all of these things you can do in the photo editor directly in the app to create very stunning, very custom-looking photos like that.
And so, I hope that this tutorial is helpful, and see you in the next one.