

Using Page Title and Footer Modules in the IntellCRE Brochure Builder
Page Title and Footer Modules
Hey everyone.
Welcome to this tutorial where we’re going to explain how you can use and customize the page title module and the page footer module.
We’re also going to cover some basic best practices that you can use in your brochures such that they look very professional and very beautiful.
So let’s get into it.
When you create a new page, choosing any page from the Quick Layouts or Smart Pages or from your Saved Pages, but let’s start with a blank page here.
Page title and page footer modules are, by default, there.
If you don’t need a footer or title, you can, of course, use the three dots to delete or remove these modules.
Customizing the Page Title
Now let’s look at some of the customizations that we can make.
Obviously, by default, the page header is going to have a font that is your default branding identity that you use, and in particular, the font for the headers.
Clicking on the module, you see that we are using Trade Gothic Next as the font.
We can, of course, choose a different font from the list.
Note that you can control this. It’s basically like a rich text editor.
You can control everything in the same way as we explained in the text module tutorial.
For the entire module, you can change the global font size.
You can change the font weight.
You can change the color of the font.
You can change the letter case and letter spacing, so how the letters are spaced horizontally.
You can choose to add a background to this page title module.
You can control the opacity.
You can include maybe a gradient version of the background.
You can add a border, choose the color, border radius, and location.
So if we just use top and make it orange, this is the result.
Page Title Layout and Alignment
You can control the layout.
This is very important.
What is the vertical alignment?
Bottom, top, or center.
This is how vertically aligned the title is in this module.
Of course, you can resize the module as you can do with any other module.
You can choose the horizontal alignment.
If we want the title to be in the center, we simply choose the center alignment, or right alignment for any reason.
You can also see the usual width and height controls.
We can decrease the width of this module using these controls, or we can simply do it by dragging and resizing the module like that.
Using the Overline
Note that the page title module also has an overline option.
If we include an overline option, then we are basically able to have something like a property.
And now this is going to be our Executive Summary page.
So we can have a title that’s composed of two components that we can use the overline for.
Maybe that’s the section.
This is designating the section, and now this is designating the page.
You can also control the letter spacing.
If we increase the letter spacing, the letters are more spaced out.
You can control everything else.
You can make it italic, underline, and so on.
Customizing Selected Text
As with any text module, the header module has global settings.
When you select the module and you don’t select any text in that module, you are looking at the page title styles, the general settings.
If I select a subset of the text, now I have the selected text options.
Now I can basically customize the selected part of the header.
Let’s say I want to have the header in two colors.
Black, or my brand color, and then gray or something else.
Maybe I want the overline to be in our secondary color to create the design accent that we’re after and things like that.
You can also make this bold.
We can change this setting to regular.
Now we’re combining two different font weights in the header and so on.
The sky’s the limit of what we can do here.
Page Titles in Two-Column Layouts
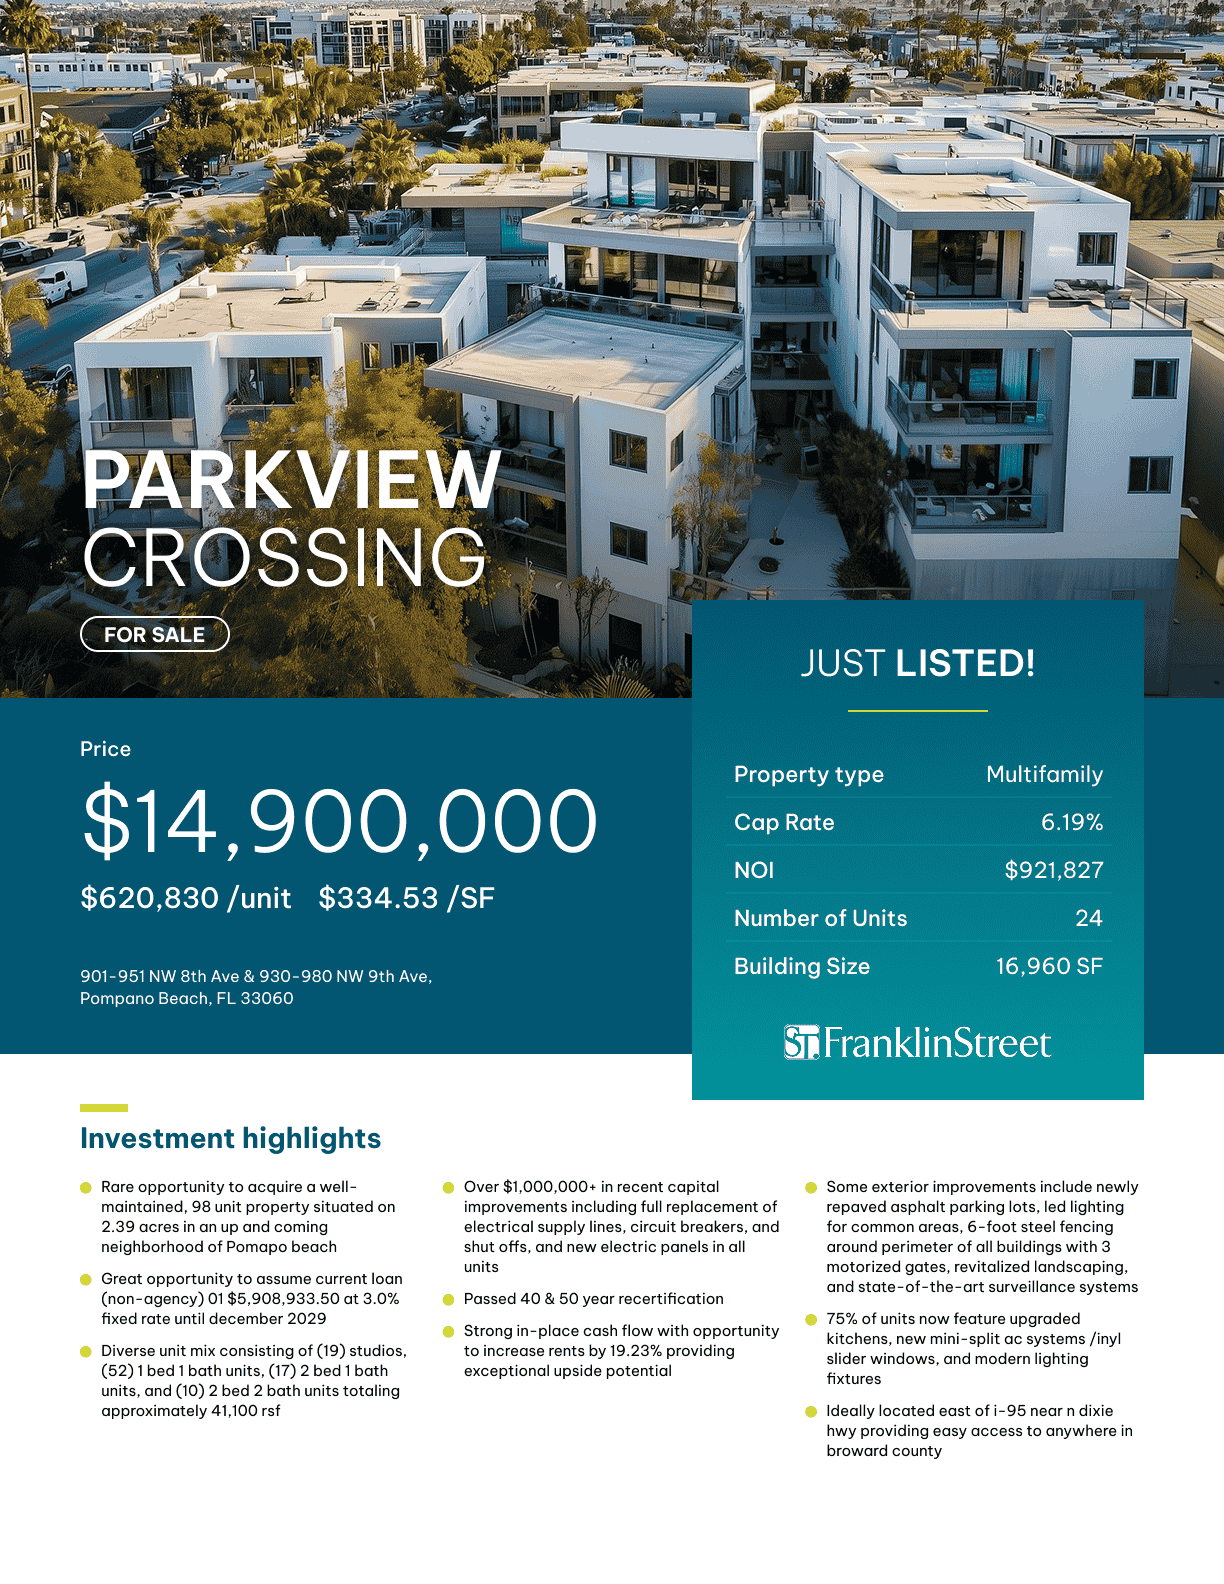
If you are creating a page that basically flows in two columns, so you have a left side of the page and then the right side of the page has a photo or something like that, let’s actually see an example of that.
We’re going to add an image because this is a very common setup.
I want to go over it, and we’re going to add some photo here.
In this case, you can place the header only on this part of the screen, or maybe you can center it with respect to this half of the screen.
I’m going to make sure that the module is covering the entire half of the page.
Either I can set the padding for the module in such a way that I have, let’s say, 20 or 30 padding.
In the layout, I’m going to select the horizontal padding to 20.
As you can see, I’m creating the padding in the module, in the page title module.
Or maybe I can make the padding 40 and I have more padding.
Okay, so that’s it.
I can also do vertical padding as well.
So if I do vertical padding, just like that.
Now, when I want to center this, of course I’m going to make sure that the module spans half of the page.
Then I’m going to go to horizontal alignment and I’m going to use center.
Just like that.
Multiple Headers on a Page
These settings are very common.
For instance, on a slide like this where we have the photo on the left and then we have the header on the right, or vice versa, we can also have two headers on one page.
There can only be one header per page, but we can do the same with the text block.
So we can add a text block over here and we can basically create another header using the text block.
Okay.
Customizing the Footer
Now let’s look at the footer.
Footer is also a specific module that, by default, is included on all the pages.
You can, of course, delete the footer altogether.
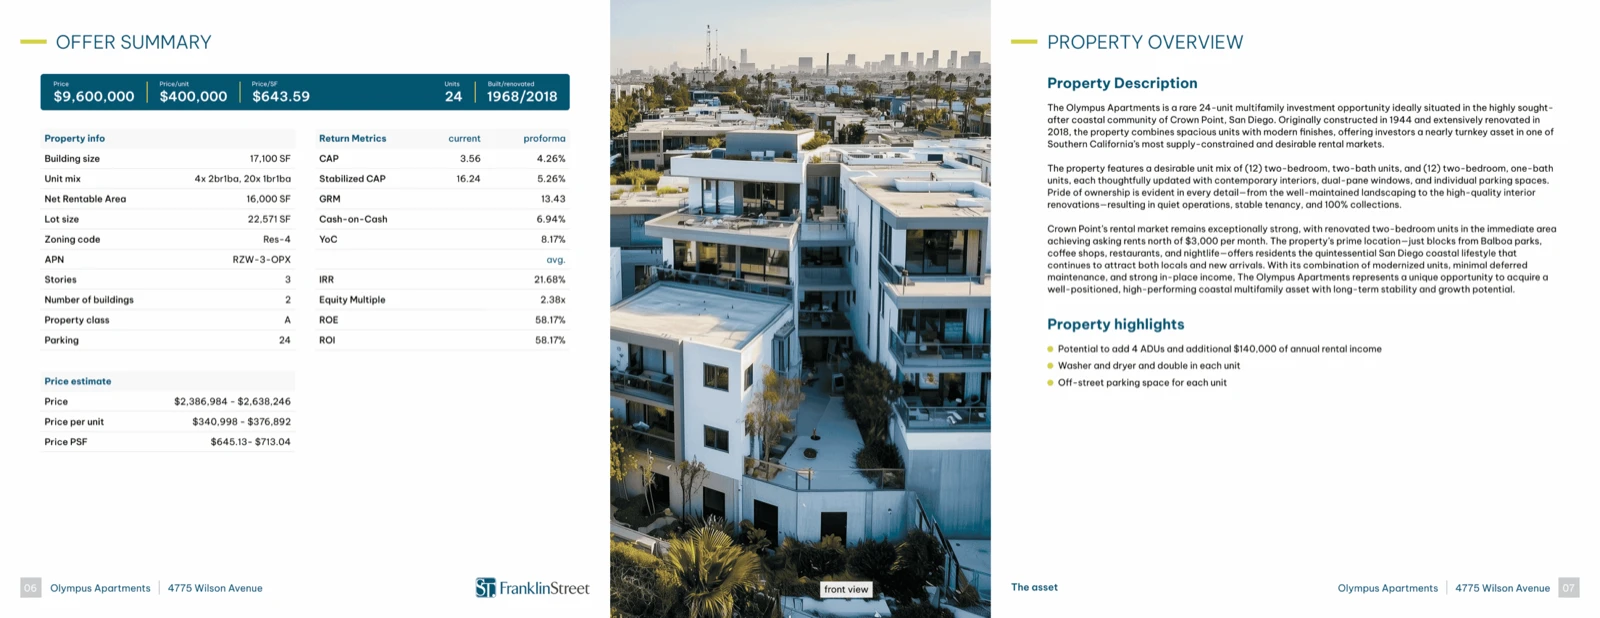
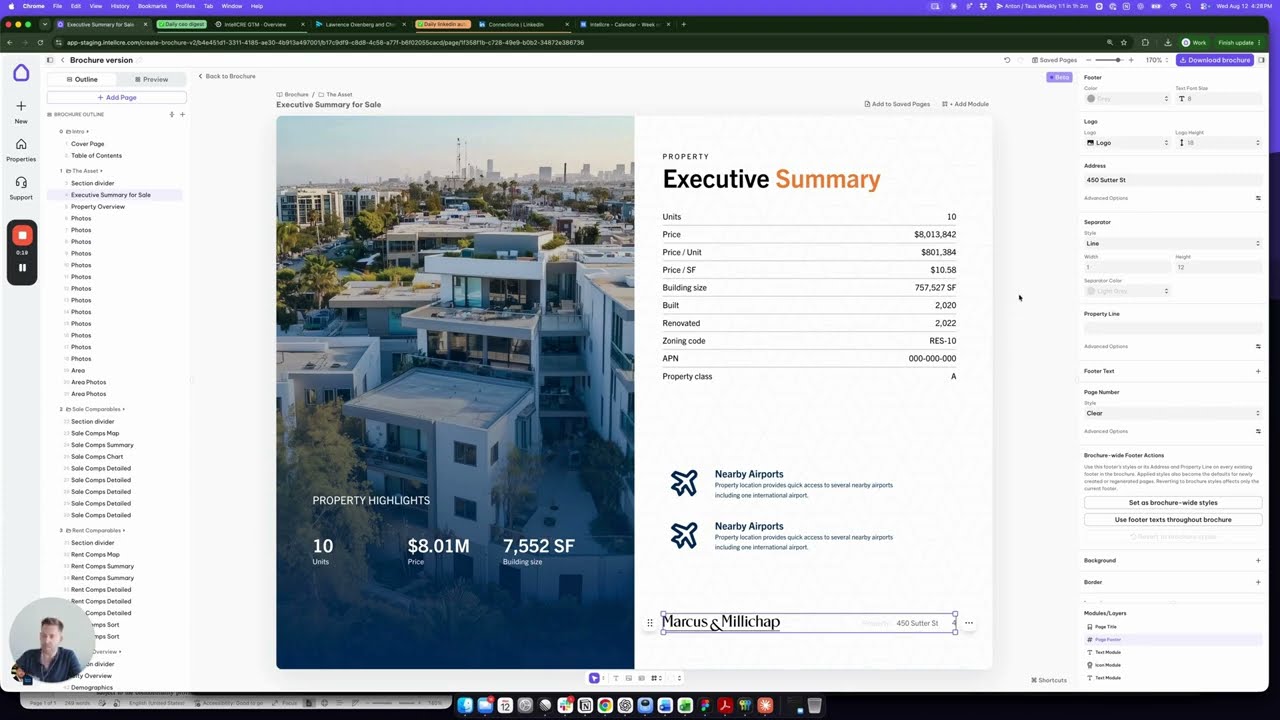
Usually in the footer, by default, we have our company logo on the left and then we have the name of the deal plus the automated page number and things like that on the right.
Now let’s go over the options here.
Of course, we can resize things like that depending on the layout of our page.
We want to make sure that this footer aligns with everything else on the page.
So if I have the footer like this, and this is sort of a best practice, then I would want this header to be aligned with it.
I’m going to basically use the left alignment.
And as you can see now, the footer is aligned with the header, or the page title, and this creates the best possible look.
We want to make sure that this is the case.
I’m going to show you what happens when we’re using the two-column page layout in just a second here.
Footer Font and Logo
Let’s go over the options for the footer.
Resizing, and then we have the option to control the font size in the footer.
We have the option to control the logo.
If we are using a dark background for some reason, then we can also use the white version of the logo so that the logo is visible.
The same should be our setting for the other text blocks in the footer.
If we’re using a light background, these should be dark.
If we’re using a dark background, these should be white or a light color.
We can control the logo size, in particular, by controlling the logo height.
As I start increasing the logo size to 24, you see the logo is becoming bigger.
We can make the logo bigger and bigger.
Of course, we’re going to need more space for that, but you get the gist.
So this helps us control the size of the logo.
Footer Address and Separator
Here we have the address, in particular the street part of the address.
We can customize this, and it’s going to be reflected here.
Then we have a separator.
We have a line separating this part of the text and this part of the text.
So if we make the separator orange, and we have a property line, “The Best Deal.”
We see that we have this text block here, the property line, then we have the separator in a thick orange line, and then we have the address right here.
You can use this text in the footer, or you can decide not to use it by simply removing the text and then basically applying that style of the footer to the entire brochure.
Footer Text and Disclaimers
Then we have the option to add footer text.
The footer text appears here in the footer.
We can use this to include disclaimers if you need disclaimers on every page of the brochure.
You can use it for anything else.
It’s just there for you.
You can control the font size, weight, color, letter case, and things like that.
Page Number Options
Finally, we have the page number.
We can choose between a clear style like this one or square.
If you choose a square, you can go to Advanced Options and you can control the font size, colors, the opacity of the square, and things like that.
Applying Footer Styles Across the Brochure
And of course, a brochure-wide footer action.
Once you configure your footer — this is very important — once you configure your footer to match exactly what you want on a particular page, you can click Set as Brochure-Wide Styles for the Footer, and then the same style is going to be applied to all the pages in your brochure.
If you choose a certain content, like the legal text here and so on, and you want to apply it, or maybe you change the address here and you want to apply the text across all the footers in your brochure, you can use this Use Footer Text Throughout Brochure button.
It’s going to basically populate all the footers in your brochure with the same content.
And if you want to revert back to the original style of your brochure footer, you use the Revert to Brochure Style feature.
This actually happens for other modules that are on every page.
So not just the footer, but also the title.
Footer Background and Layout
You can also add a background for the footer.
Control the opacity, maybe switch it to a gradient version.
You can add a border to the footer.
You can also play with the layout options.
How you would like to center this vertically, whether you want some specific horizontal or vertical padding in the footer.
All of that is configurable.
Best Practices for Dark Backgrounds
Now let’s look at what happens.
I’m going to actually remove some of this.
I’m going to remove the footer text and I’m going to remove the background for now.
And I’m going to remove the page number.
I’m going to make it clear.
Let’s say I have “The Best Deal.”
Okay, so I have it like this.
Now what happens when I have a photo spanning half of the page?
Well, first of all, the footer is not visible enough.
So what you want to do is make sure that these texts are inverted to white.
Selecting the footer and changing the footer text to white is going to make your text visible.
Now let’s say this number, I want to make sure that it’s much more visible than this.
Then I can, for this number, use the square option.
As I am in the square option, I’m going to use a certain background color.
Let’s say gray.
Then I can also invert the color of the page like that.
So you can play with these options like that.
Now let’s say that I have a dark background for any reason.
Let’s say this part of the page is dark.
I’m going to use a solid background.
I’m going to use black background.
Something like this.
Now, as you can see, you don’t see the logo in the footer.
So what you want to do is go to the logo option here and select the white logo so that your logo is perfectly visible on a dark background.
Conclusion
So these are all the page title and page footer options.
How to fully customize these two key modules that are, by default, present on every page and how you can apply the styles once you design, once you customize them, across your entire brochure.
So that’s it, and see you in the next tutorial.