


New Builder Overview
Hey everyone, Anton here.
The new Builder is here. We’re very excited.
Basically, we’re building the fastest and the best deal launching engine here at IntellCRE to enable you to, in minutes, produce the best quality marketing materials with higher conversion rates and enable you to 5x, 10x, or 20x your pipeline and, of course, see the downstream effect of growing your business.
The new Builder for building your decks is 100% in line with this mission that we have at IntellCRE.
In this short video, I just want to walk you through what’s new in the new Builder, what are the features that you can already use, some of the key distinctions such as inline editing, the ability to seamlessly enter any financial data, the vast customization that’s available, and quick starter layouts. All of that is present in the new Builder.
I’ll also explain that you can still keep your workflow using the previous version of the Builder, as we’re going to be running both versions, the old Builder and the new Builder, simultaneously for you. So, if there are any templates or anything that you prefer to take your time migrating from, you can definitely do that.
Stick around. In the next few minutes, I’m going to show you what’s new with the new version of the Builder and what are some features, improvements, and updates that are coming in the next couple of days.
Let’s jump into the platform.
Simplified Deal Creation Flow
Here we are in the platform.
Just before we show the new Builder, it’s actually important to note that the flow of creating a deal has changed and has been simplified. That’s something we should probably show before we actually jump into the Builder.
Now, when you’re creating a deal, you’re able to upload the entire deal data room.
In the very first step, you can upload all your data.
You can take the entire data room. This includes:
- Photos
- PDF exports with comps
- Word documents
- Excel files
- Setup sheets
- Whole Excel models
The system will start going through all these files and reading them to determine where specific data is located within your deal data room.
As you can see, from a multi-sheet setup Excel document, the system will determine that the property data is found here, sales comps are found here, rent comps are found here, income is found over there, and so on.
You have the ability to confirm the data mapping in the summary below. If, for some reason, you want to pull the data from different locations, you can.
Then you just click Continue.
The files are parsed, and all the data is attached to your deal.
That is the new flow that we have.
Now note that all of these documents are going to be in your Documents section for that deal.
You can always add more documents.
We’re working on functionality where you can request documents from a fellow agent, owner, property manager, marketer, or vice versa.
All the files are going to be in Documents.
Opening the New Builder
Now, when we decide to actually build a deck for this deal, you’ll see that we’re going to be running two versions of the Builder simultaneously, as I mentioned at the beginning of the video.
When you go to New Builder, your previously uploaded Excel files are going to be shown here, with you being able to simply select the sheets that you want to create financial table pages from.
For this example, maybe we take Income and Expenses.
Then we open the new Builder.
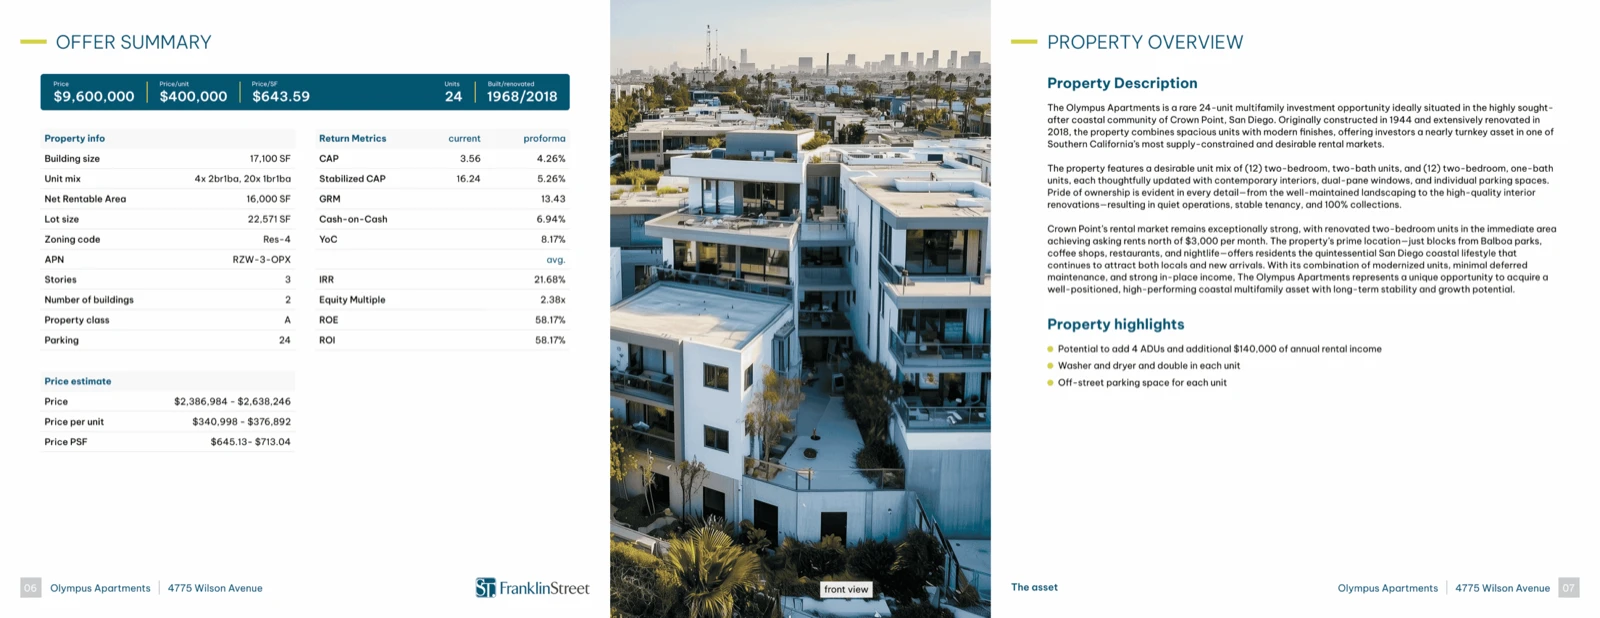
In the new Builder, one of the most distinct features is not only the vast customization options, but also the ability to set up branding per brochure.
Instead of having one branding for the entire organization, you can brand every brochure differently, while the default branding is still based on your organization’s branding.
You have full customizability when it comes to the header and the titles.
It’s not just the placement, but also:
- Fonts
- Styles
- Subtitles
- Titles
- Backgrounds
- Various opacity levels
As you’ll notice, we’ve also changed the grid.
We now have a 120 × 120 grid, meaning you’re much more flexible when it comes to positioning various modules on the page.
You’ll also notice that we got rid of the mandatory padding.
There is a standard padding for each page.
Let’s take this page, for instance.
There is mandatory padding here:
- Top padding
- Right padding
- Bottom padding
- Left padding
We can play with these.
You’ll also notice that you can resize all the modules as you need.
New Outline and Preview
We have a brand-new outline here on the left that you can collapse and uncollapse.
You can basically work with it as before.
You can drag and drop sections around.
You can drag and drop pages around, and things like that.
You can add a section.
You can also switch from the Outline View to the Preview View.
Now you’re basically seeing page after page what your brochure looks like.
When you decide to edit any page, you can simply click on the page, and the page is going to open here in the new version of the Page Builder.
You can also look at the whole brochure here and also control the zoom levels directly from here.
Adding Pages
Now let’s look at what adding a page looks like.
We kept all the previous functionality. So, maybe you’re used to the last page having some default layouts. You can still switch between those here.
You still have:
- Vertical
- Brand Color
- Transparent
You still have those options as before.
But now you have much more.
Let’s say we want to add a page.
We click Add a Page.
Here is where you’re going to see, in the next couple of days, Template Pages added.
Template Pages are pages that you can build yourself or create per team.
You’ll also see Quick Layouts.
Basically, all the common layouts that you would need.
Maybe you want to add a page with a bullet list using icons instead of bullets, with some highlights or information.
Maybe you want to use two pictures with a table in the center.
That’s also going to be a Quick Layout.
Right now, I’m just showing the blank page layout that’s already available.
This simply gives you a blank page.
Now we can add any number of modules onto this page.
First of all, let’s center-align the header horizontally.
Let’s make it larger by increasing the font size.
Then let’s add an image.
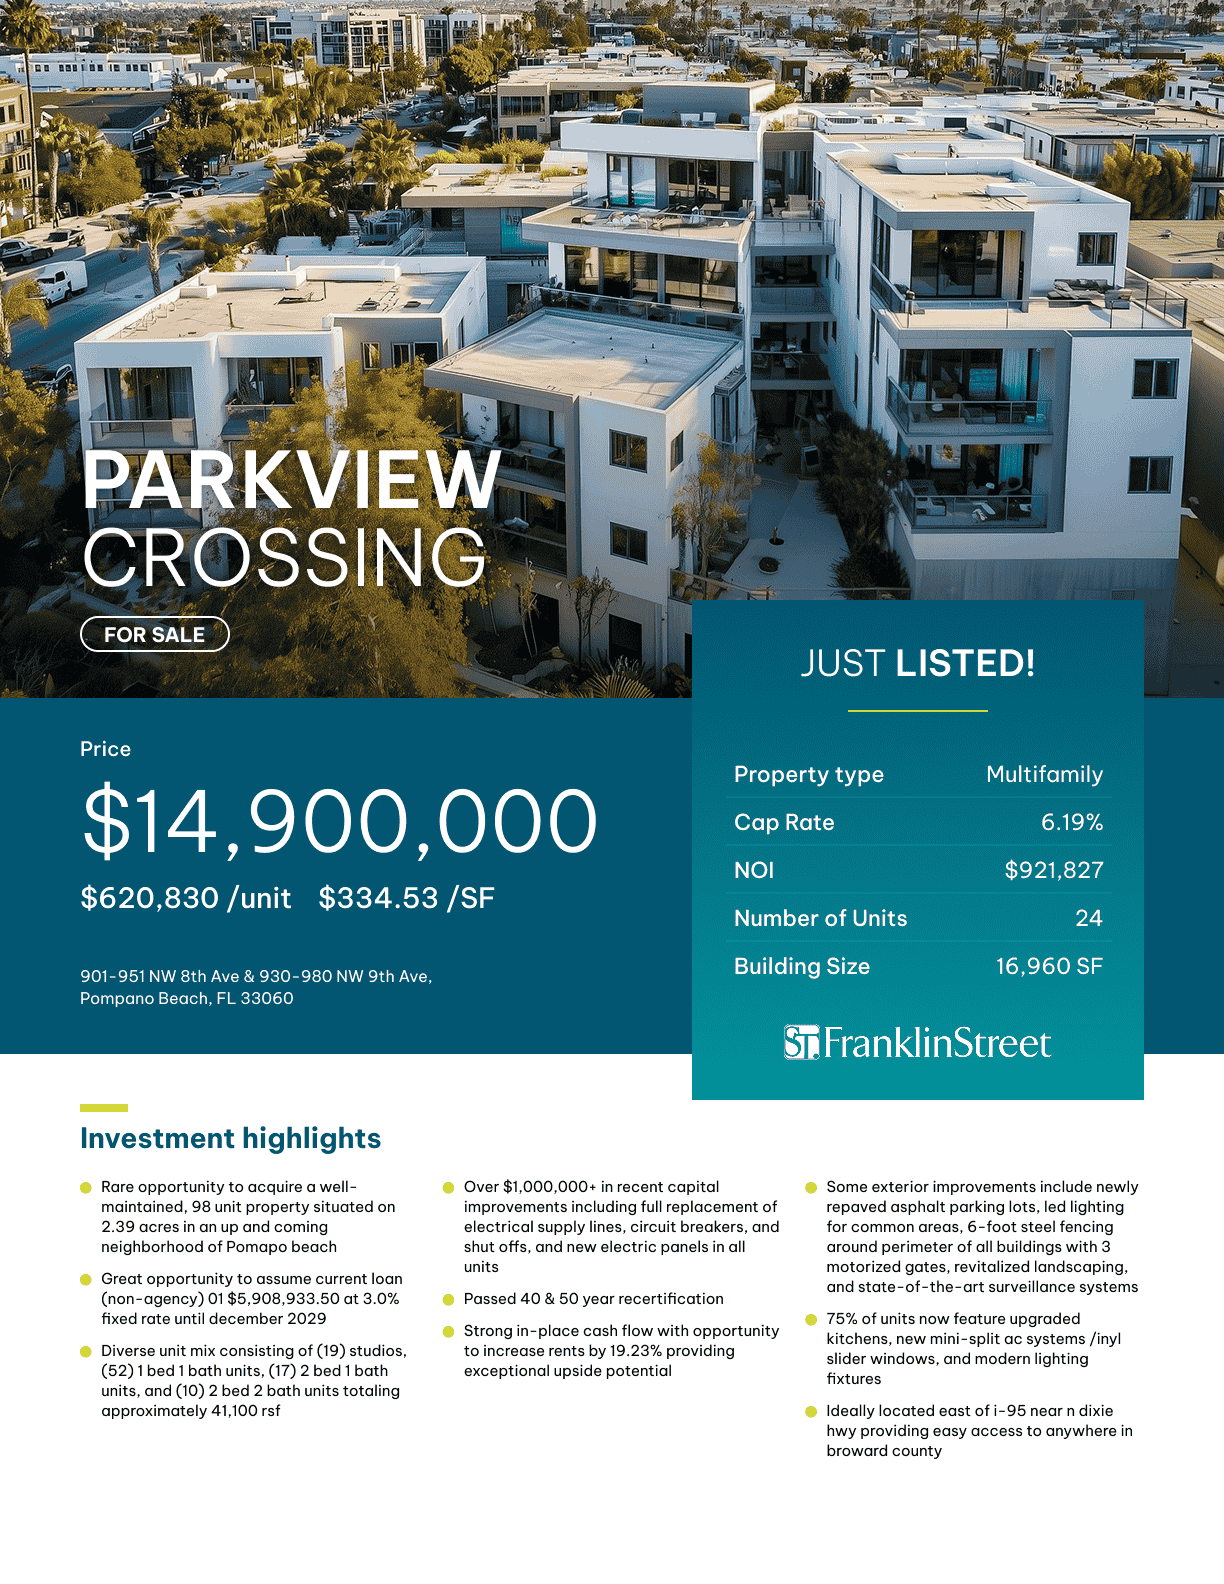
You’ll see that now the images can end at the very boundary of the page, which wasn’t available before.
You simply click here and choose an image, either using stock photos, your photo library, or your property photos for that deal.
You can also open any image directly in the editor.
If we click here, we open this image in the editor, where we can crop it, outline it, adjust the colors, and make other edits.
Now let me continue working with the header.
Adding and Customizing Tables
Now we can add:
- A table
- A text module
- A rectangle
Let’s actually add a table here.
We now have much more flexibility when it comes to customizing tables than we had before.
We now have Auto Fit, which is very important.
The table automatically fits the data inside it.
We can also customize the background colors.
Let me change the background.
Let me resize the table.
Let’s increase the font size.
Now let’s put that table on top of the image.
Now we have one more level of customization.
We can overlay several different modules on top of each other.
We can have:
- A picture in the background with a table on top.
- A rectangle with text placed on top of it.
- Different levels of opacity.
Taking this table as an example, you’ll notice that whenever you don’t have anything selected on the page, you’re basically editing the general settings for that page.
We have:
- Background image
- Padding
- Page name
…and things like that.
Once I click on a particular module, the settings now switch to that module.
For images, we have:
- Alignment
- Image opacity
We can add an Image Overlay.
We can choose a Solid Overlay and select the overlay color.
For example, this could be a red overlay or your brand color.
We can also adjust the overlay opacity.
Instead of a solid overlay, we can also use a Gradient Overlay.
With the gradient overlay, we can specify whether it begins at the top or ends at the bottom.
We can flip it.
We can choose:
- Start color
- End color
- Gradient opacity
- Where the gradient starts
- Where the gradient ends
- Gradient direction
Whether we want:
- Horizontal
- Vertical
…and all those options.
Table Settings
For the table, very similarly, we have:
- Font size
- Border color
- Grid style
- With or without grid
- Horizontal padding
- Vertical padding
- Alignment
- Background color
- Background opacity
…and all these options.
I don’t want to get too much into the weeds, but the possibilities are basically endless with the new Brochure Builder.
Maps, Text, and Upcoming Modules
Adding a map works exactly the same way as we had for our Retailer Map before.
We also have a Text Module, which is actually a rich text editor.
Everything is possible here.
We’re going to be adding more modules.
In particular:
- An Author Module, which will automatically show whoever is the listing agent on the package.
- A Table of Contents Module.
- Various geometrical modules, such as arrows and lines.
We’re also going to add AI-generated modules, meaning that you’ll be able to have AI take any data, place it into a certain layout or module, and automatically add it to the page.
Footer and Header Customization
Now note that you can also fully customize the footer here, from its position to the size of the logo, to the colors and style of the footer.
So that’s basically what you’re capable of doing in the new Page Builder.
Now note that when I customize the style of my headers or my footers, I can also apply that style to all the other headers or all the other footers in the brochure using these options here.
You can basically make sure that all the headers have a consistent style across your deck.
Or, on the other hand, if you need a page where the header should have a slightly different style, or the footer should have a slightly different style than the headers and footers on the other pages of the deck, you can also do that.
What’s Coming Next
Of course, what’s coming in the next day or two is:
- The ability for you to templatize a page.
- The ability for you to templatize a whole outline or document structure.
Now note that, for this brochure in particular, we had a spreadsheet where we chose one of the worksheets that we wanted to include.
Here we have a section called Imported Workbooks.
Of course, we can rename it.
Within that section, we have that Excel worksheet that has all the data that was there.
It also automatically comes formatted the same way it was formatted in the original document.
So, in case you have tables that you like to include in your brochures and you already have them formatted in Excel, and you want to preserve that formatting, it’s as easy as selecting those worksheets when you’re creating the new deck.
Those pages are going to be automatically added.
That’s a major workflow improvement.
High-Level Summary
Of course, this is just a high level.
So let me summarize.
In the new Builder, we have:
- Inline editing
- Inline formatting
Any data point—you can just click into it and edit it.
You can control the tables, the text, the images—everything—directly in the live preview.
So there’s no more going back and forth from the Builder to your property, and so on.
Everything can be done here, including the branding and everything else.
Downloading the Brochure
Once you’re happy with the result, you simply click Download Brochure, in the same way as before.
The system generates the final deck in a couple of seconds.
That deck is automatically added to your property documents.
So it’s going to be automatically added there and, of course, set as internally visible only.
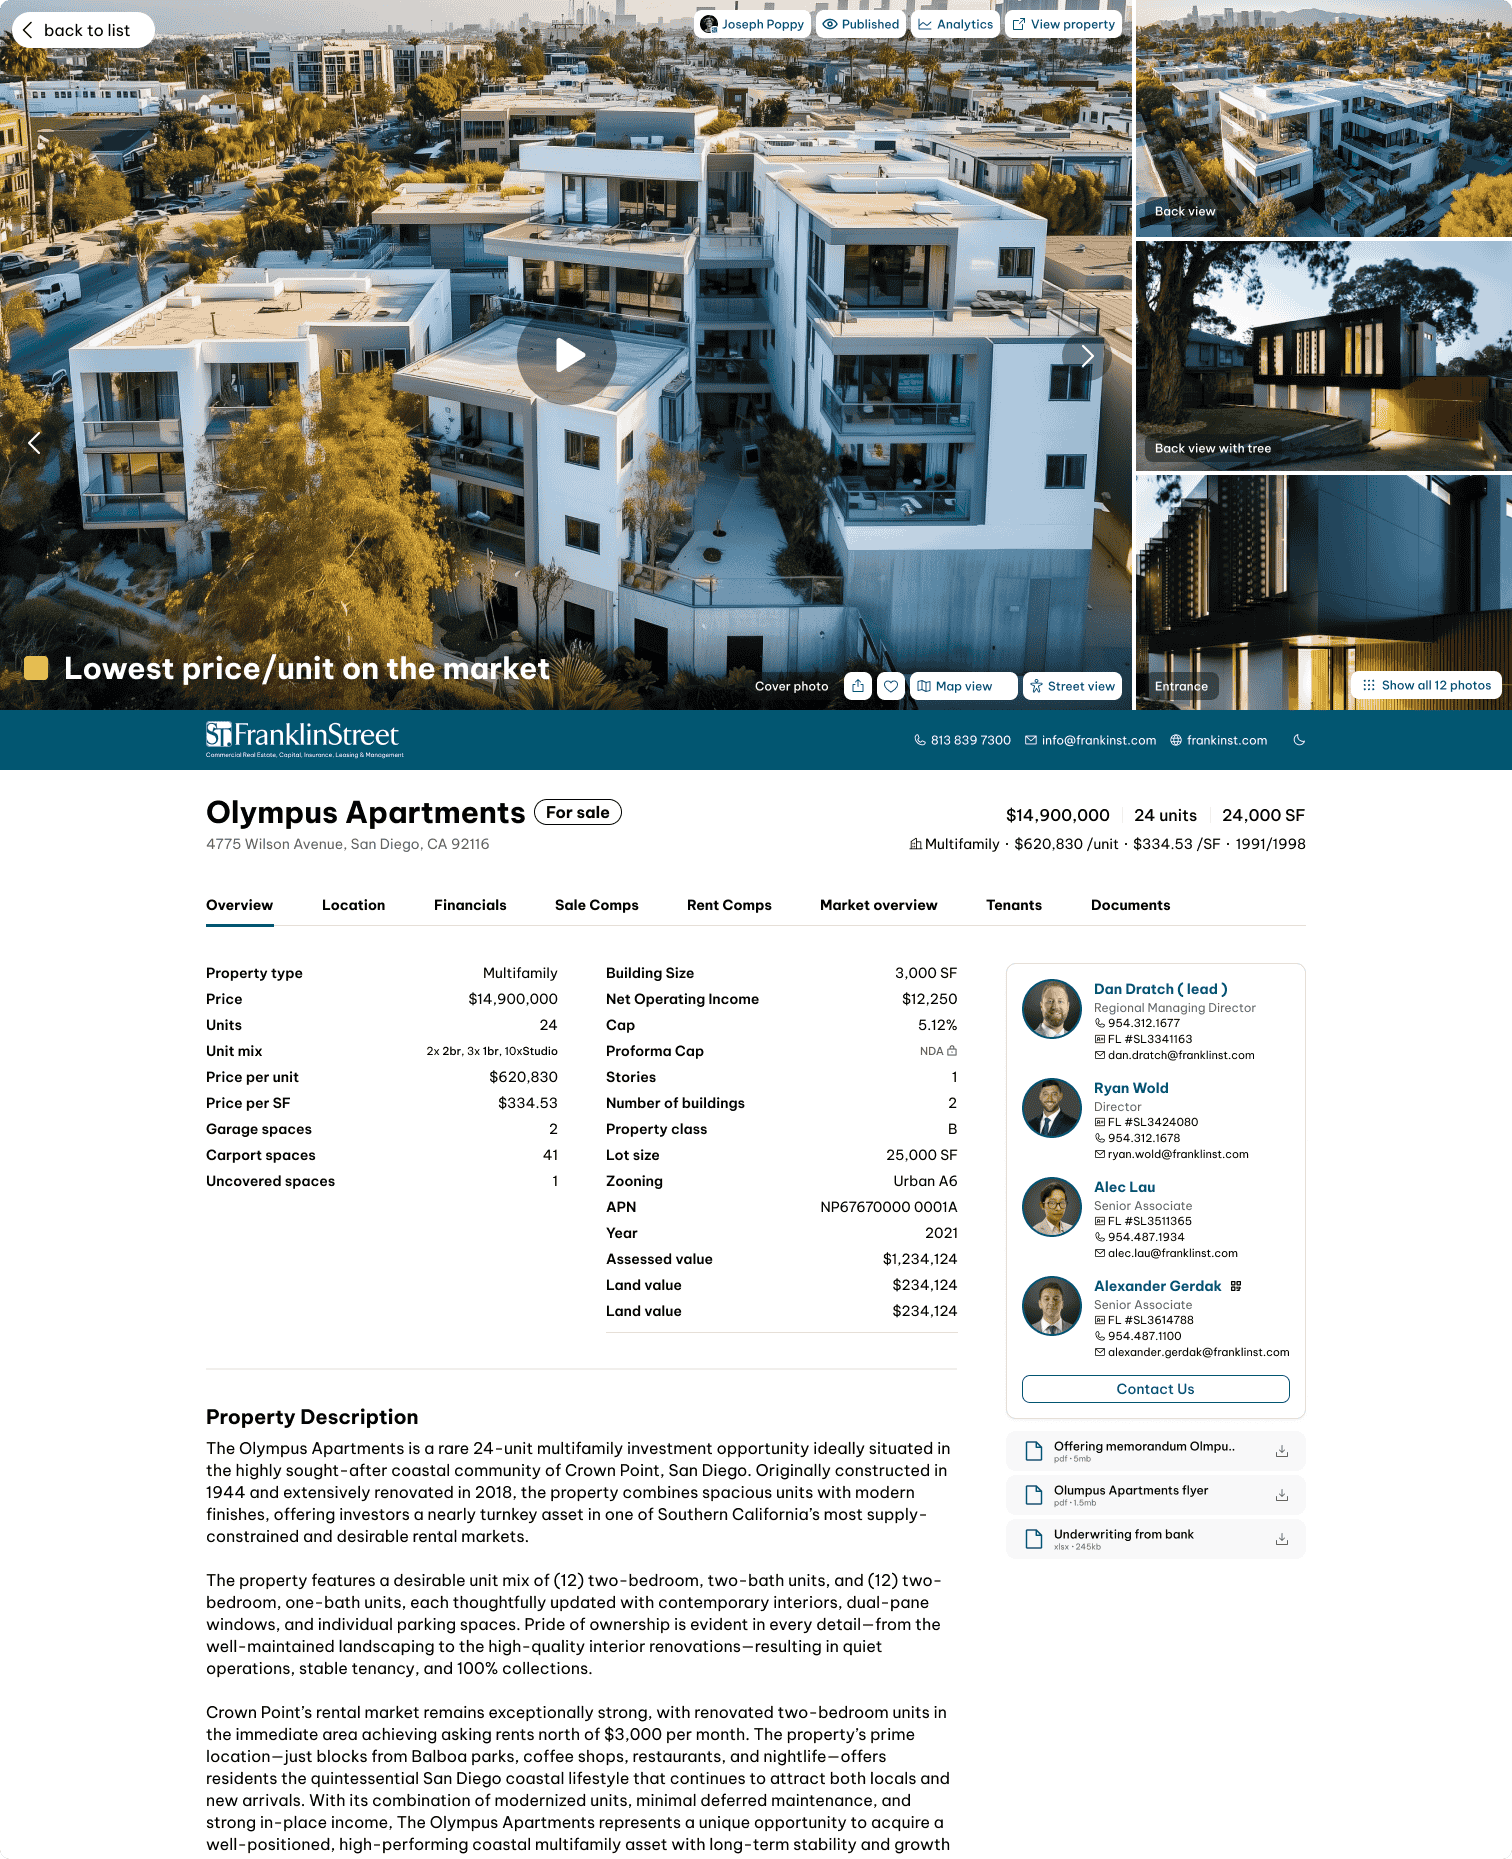
If, at a later stage, you’re publishing this deal as a listing, you’ll have the option to choose whether to include this deck—or some other version of the deck—into the Deal Vault that’s attached to that listing website, and so on.
Running the New and Old Builders Together
Again, the new Builder is live.
We’re going to be running it simultaneously with the old Builder.
We can help you migrate your templates from the old Builder to the new Builder.
Of course, due to the expanded opportunities and customizations available in the new Builder, while we’re doing this, we can even drastically improve how those templates look.
Then, once you have the workflow set up with the new Builder, with the Quick Layouts, team-approved templates and outlines, and the new flow, it’s literally going to be you choosing what you want to do today.
Whether it’s building a deck or publishing a listing website, you’ll upload the data room and then choose whether you want to replicate some of the structures that you’ve used before or maybe create a brand-new structure.
All of that is going to be available within a couple of simple steps.
Hopefully, within not more than five minutes, you’re going to be doing the final tweaks to your brochures before they are client-ready or market-ready.
Closing
So, this is all I wanted to cover today.
I went over time a little bit, but do let us know how you’re finding working with the new Builder.
Whether you see anything that you’d like us to prioritize adding in terms of functionality, modules, customizations, or anything like that, let us know.
We’ll follow up with more updates to the platform, as always.
Thank you.