


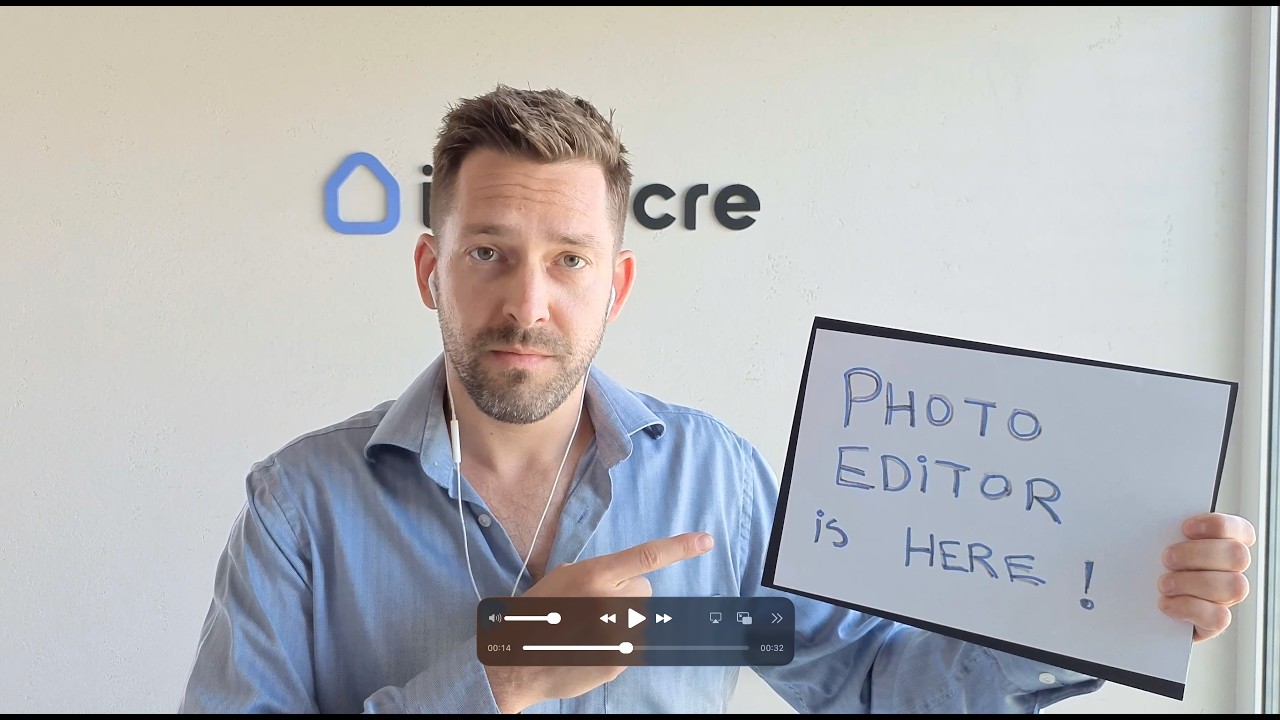
Hey everyone, Anton here.
As promised, the Photo Editor is here. We’ve launched the first version of the Photo Editor and, with it, a lot of great functionality.
You now have a library of photos that you can either share across your deals or across your properties. From this library, you can use the IntellCRE Photo Editor directly in the app to crop your photos, AI enhance your photos, draw highlights and outlines, create multiple outlines, perform various manipulations, and then use those edited photos in your marketing assets.
I’m calling this Version 1 because we’d like you to tell us, after you’ve had a chance to use the Photo Editor, whether there’s anything you’re missing or anything that would be valuable to add. We already have ideas such as highlighting roads, placing tags on top of photos, and additional editing tools. The more ideas you bring to us, the more we’ll include in Version 2.
The great news is that IntellCRE Photo Editor Version 1 is already live.
Let’s take a quick look at how it works and what you can do.
Uploading Photos
Directly in your Property Info, you can upload photos as before.
Now, when you click the photo icon, you’ll open the new Photo Library.
From here, you can upload new photos by dragging and dropping files or by selecting images from your computer.
You can also use Street View, Maps, and 3D Maps.
Using the Photo Library
Inside the Photo Library, you can filter photos by:
- The member who uploaded the photo.
- The property where it’s used.
When viewing the current property, you’ll only see the photos stored for that property.
If you switch to All Properties, you’ll have access to your entire photo library. For example, here we have over 3,000 photos available.
You can also filter by photo type, including:
- Property photos
- Area photos
- Cover photos
- Section cover photos
- Logos
- Tenant logos
- Tenant photos
I’ll filter back to this property’s photos.
If there are photos in the library you’d like to use, simply select them and click Add Selected. Those images will immediately appear in the property’s photo collection.
Opening the Photo Editor
To enter the Photo Editor, simply click the edit icon.
The Photo Editor opens with several editing options.
Let’s start with cropping.
Cropping Photos
You can crop the photo however you need.
There are preset aspect ratios for:
- Property photos
- Area photos
- Section introductions
- Section covers
- Booklets
These presets show the ideal crop for each marketing asset.
You can also switch to Custom and crop the image however you’d like.
After making edits, you have two save options.
You can click Save, which replaces the existing photo.
Or you can click Save as New Photo, which keeps the original image in the library while adding the edited version as a separate photo.
That allows you to reuse the original later with a different crop or a different effect.
If you ever want to undo everything, simply click Reset Photo, and all edits will be removed.
Adjusting Photos
Next is the Adjust panel.
We’re also planning to add an AI-powered Quick Adjust button.
For now, you can manually adjust:
- Exposure
- Contrast
- Brightness
- Saturation
- Grayscale
- Tint
- Warmth
For example, if we wanted this property to look like it’s in Mexico, we could increase the warmth to give it a warmer appearance.
There’s also a Sepia filter available.
At any time, you can reset all adjustments.
Drawing Property Outlines
Next, let’s look at the Outline tool.
When you click Outline, you can create one or multiple outlines to highlight a property boundary or a parcel.
Click Add Outline.
Now we’re creating Outline Number One.
Simply click around the property boundary and close the loop.
Once the outline is complete, you gain several controls for:
- The outside area
- The inside area
- The outline itself
Editing the Outside Area
For the outside area, you can control:
- Opacity
- Saturation
- Blur
- Shade color
If you’d like, you can even use your company brand color.
I’ll leave it black for now.
Editing the Outline
For the outline itself, you can control:
- Line thickness
- Line color
- Line opacity
- Corner radius
Increasing the corner radius makes the corners more rounded.
You can also choose different line styles:
- Solid
- Dashed
- Dash-dot
- Dotted
Editing the Inside Area
The inside area has its own settings as well.
You can control:
- Fill color
- Saturation
- Blur
- Opacity
Creating Multiple Outlines
Let’s say we want to highlight another property.
Simply click Add Outline again.
Now we’re creating Outline Number Two.
I’ll quickly draw another outline.
Each outline has its own settings.
For this second outline, I’ll make the line thicker, change it to a dotted style, and increase the opacity.
Now we’re displaying two outlines on the same photo.
This is useful if your property has multiple components that you want to highlight.
You can add as many outlines as needed.
If you no longer need one, simply delete it.
When you’re finished, save the photo.
Because I selected Save as New Photo, the original image remains in the Photo Library while the edited version is added as a new photo.
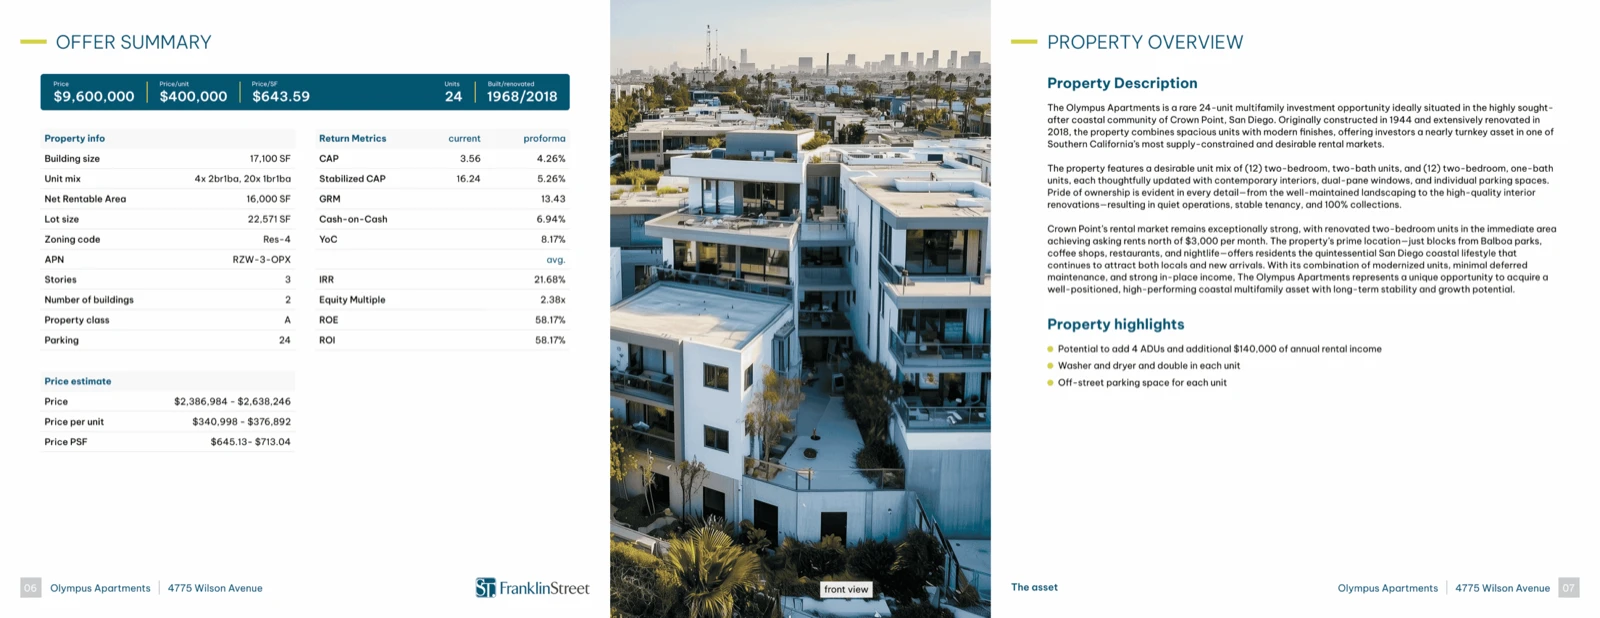
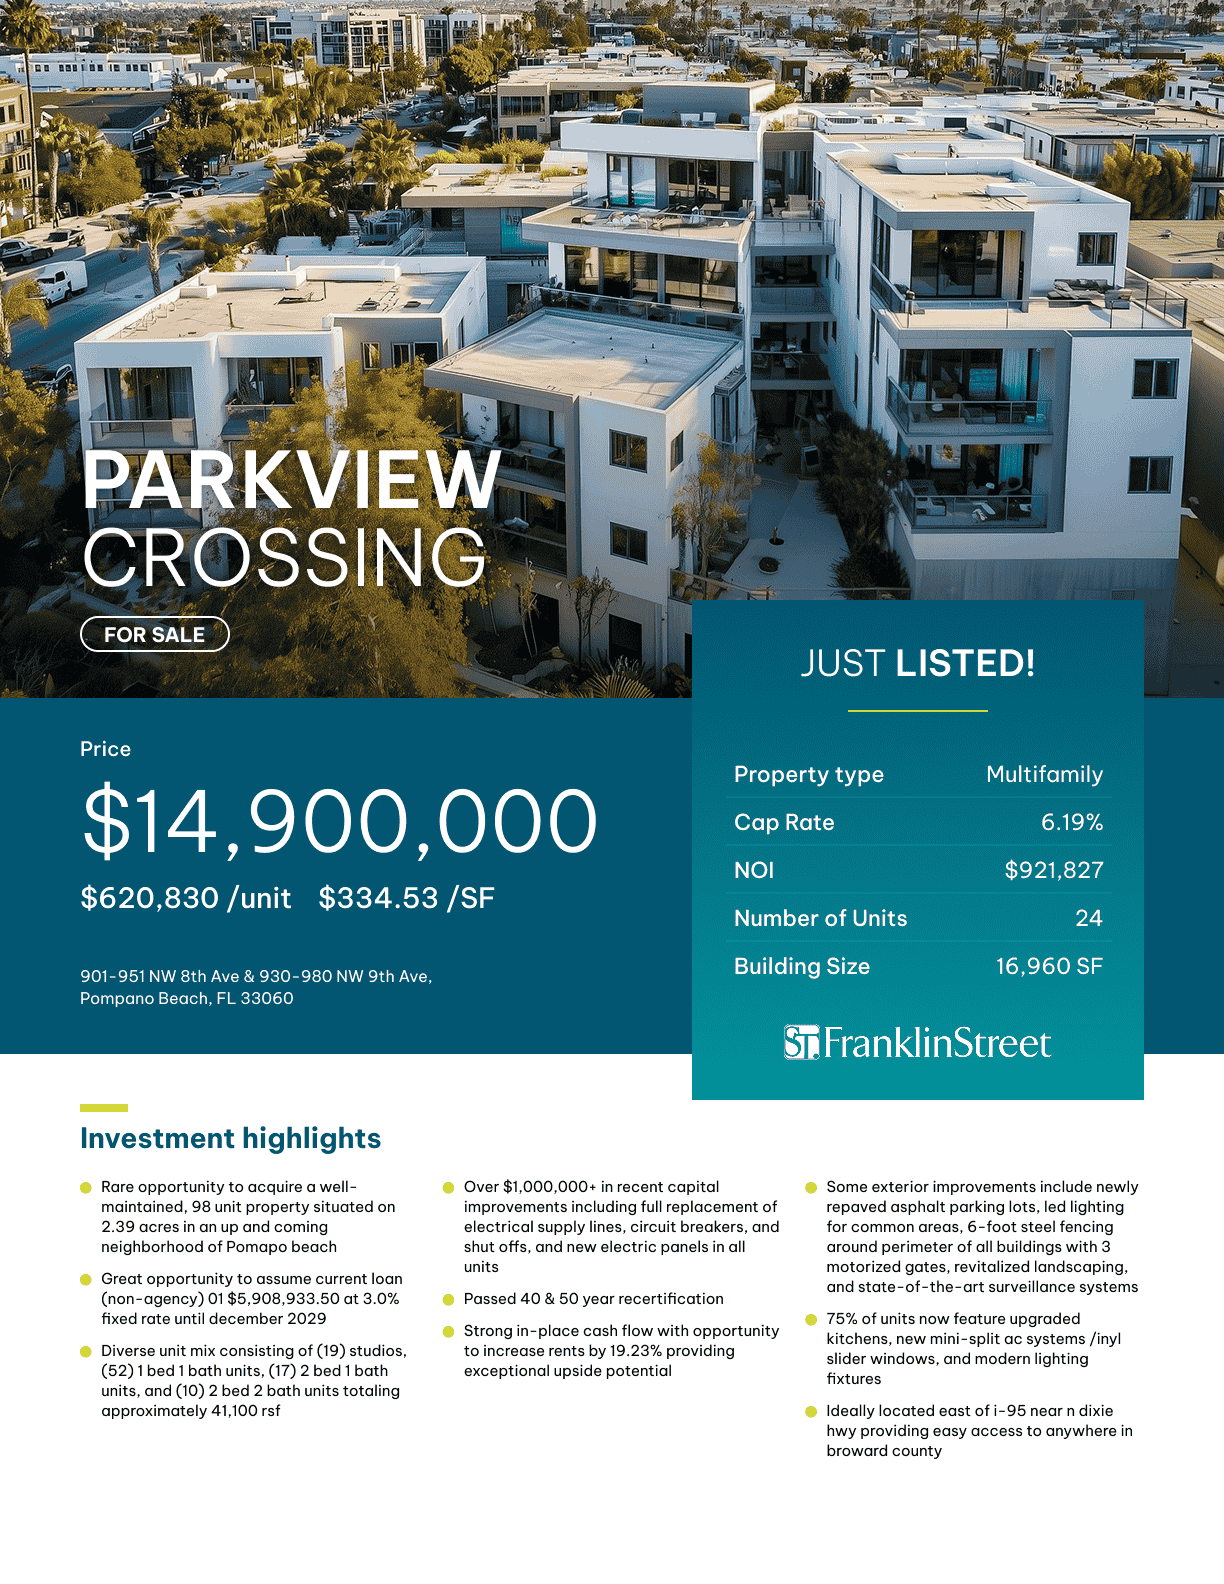
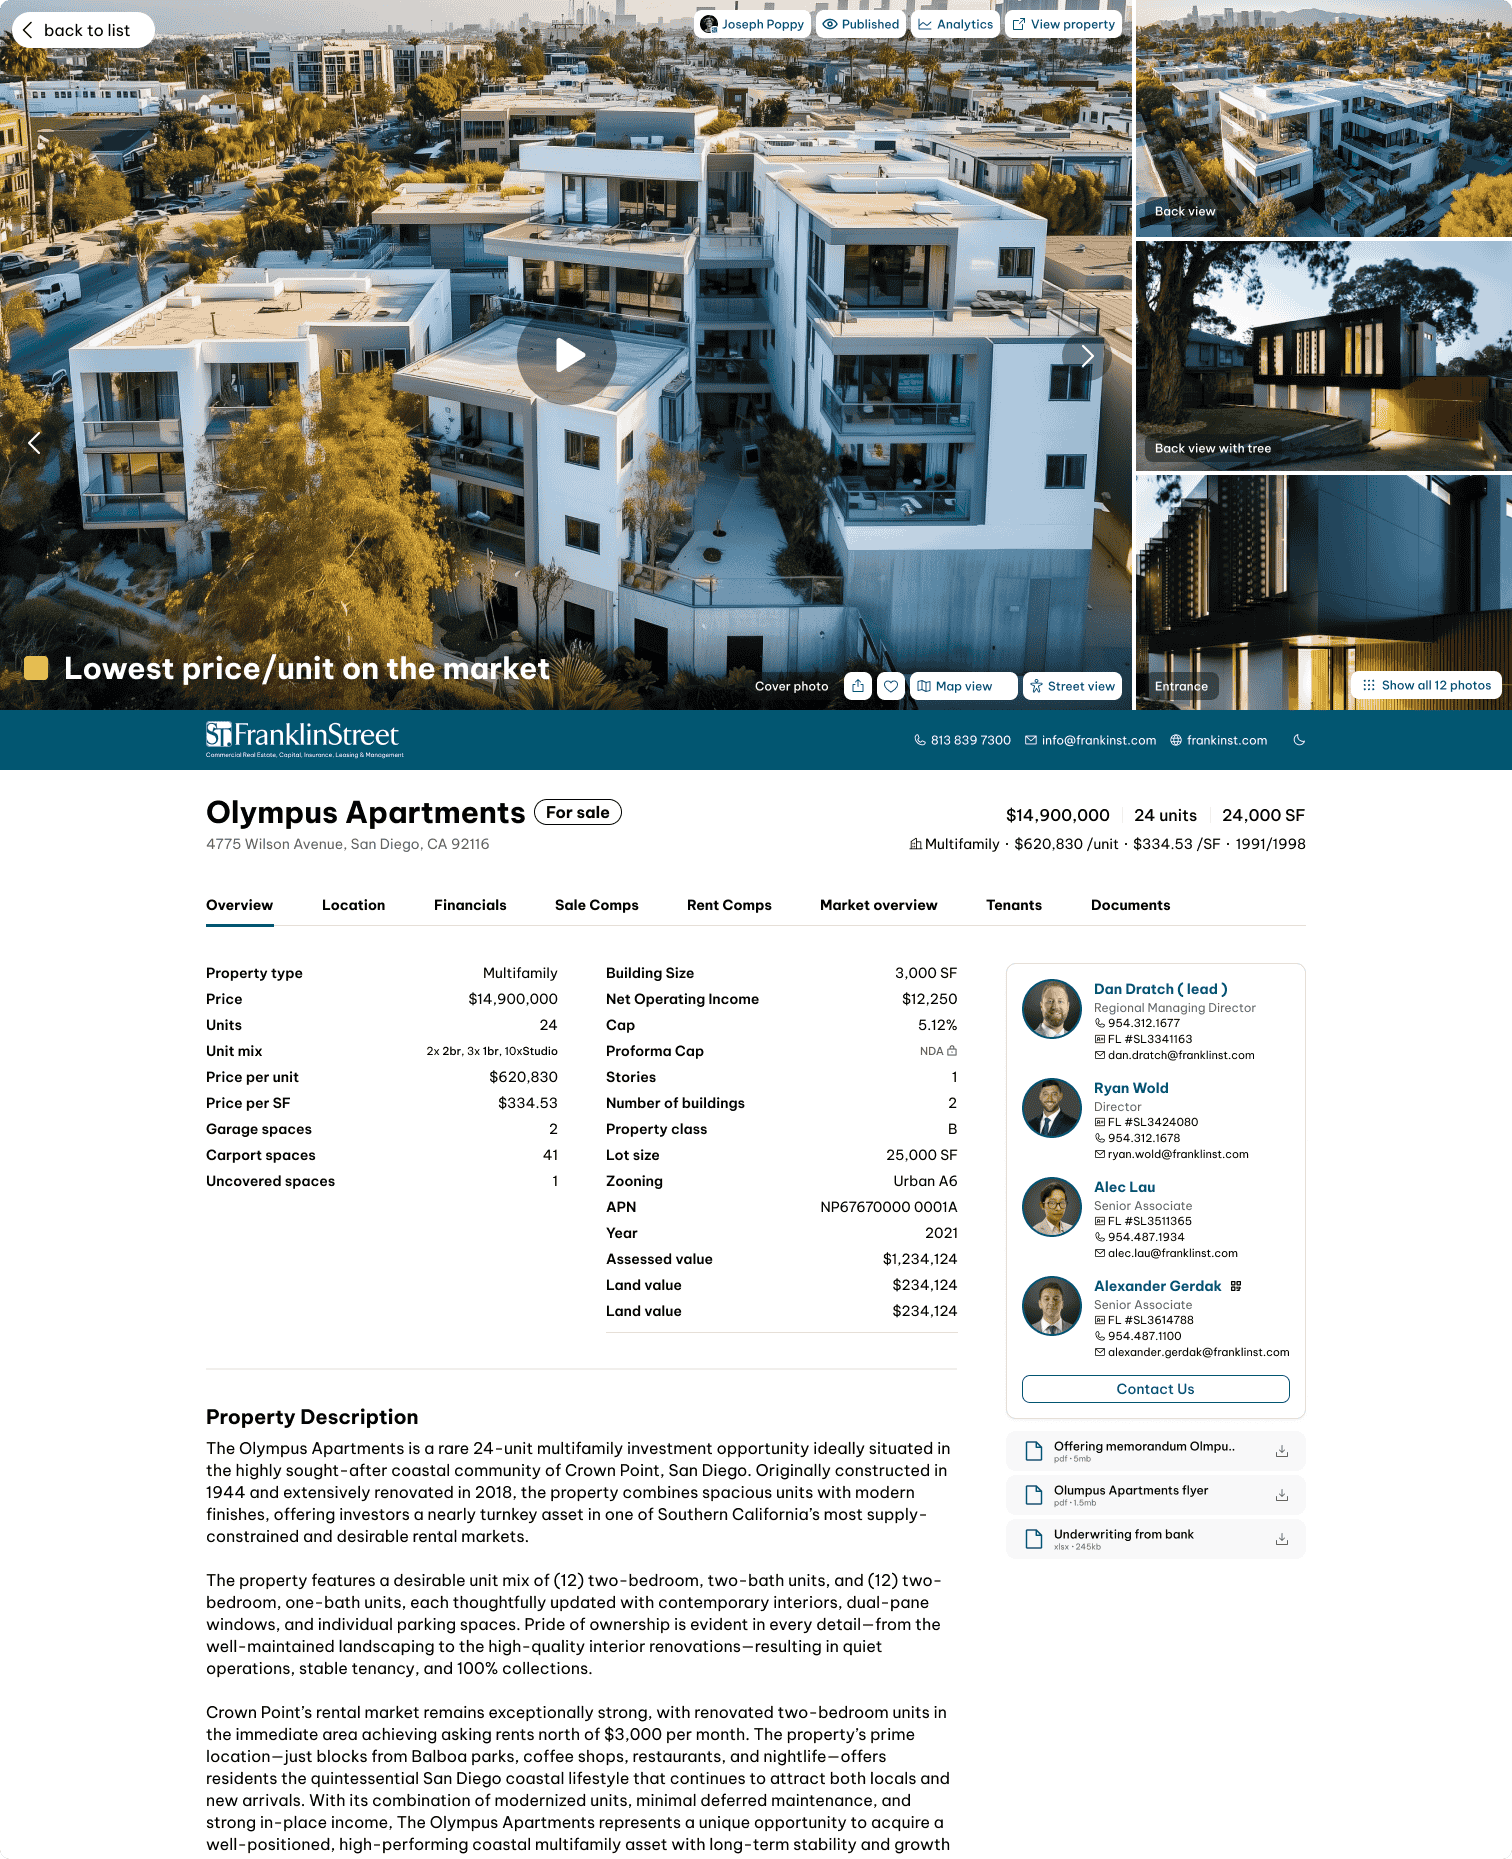
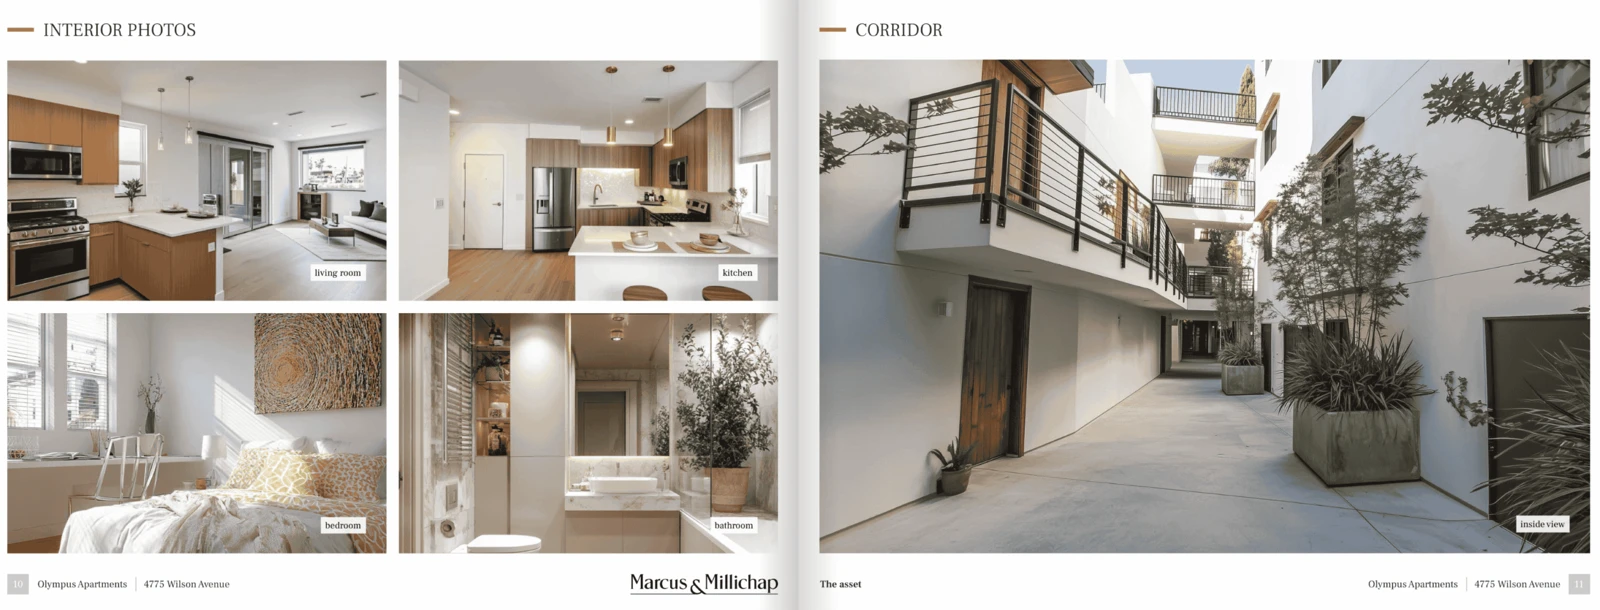
That edited photo can then be used in brochures, websites, and all other marketing assets.
What’s Included in Version 1
The new Photo Library is now available.
The Photo Editor includes:
- Property outlines
- Multiple outlines
- Photo adjustments
- Saturation controls
- Warmth controls
- Blur controls
- Color adjustments
- Cropping
- Other photo manipulations
We hope this becomes a valuable feature for you.
Coming in Version 2
We’ve already started working on Version 2.
One of the biggest additions will be a built-in stock photo library.
When you’re inside the Photo Library, you’ll be able to browse licensed stock photos for use throughout your brochures and presentations whenever you need additional imagery.
We’re also working on:
- Road highlighting
- Neighborhood highlighting
- Tags
- Text labels
- Additional annotation tools
These are already in development.
We’re looking forward to hearing your feedback after you’ve had a chance to use the new Photo Editor and Photo Library.
Any ideas that would be valuable to you can be included in Version 2.
Thank you.