
Introducing Outlines in the New IntellCRE Brochure Builder
Creating and Managing Outlines
Hey everybody, Anton here.
We just launched outlines for the new brochure builder, which is a key feature.
Today, I just want to quickly walk you through how to use outlines in the new builder.
Note that you can now access outlines and set up your outlines in the settings of the platform.
In the settings, you’ll see Brochure Category, Saved Pages, and you’ll see Outlines.
When you click Outlines, this is going to show you a list of all the outlines that you have saved.
In order to create a new outline, we’re going to click New Outline.
We’re going to name it something. So, “My OM Outline 2 — Single Page View Layout.”
For the starter outline, we can just use Full. It doesn’t really matter because we’re going to be able to fully customize the outline. So, I’m just going to use Full as default.
We’re also going to be able to group the outlines into folders in the same way as we can group saved or template pages into folders.
Now, there are just some placeholder photos here for you.
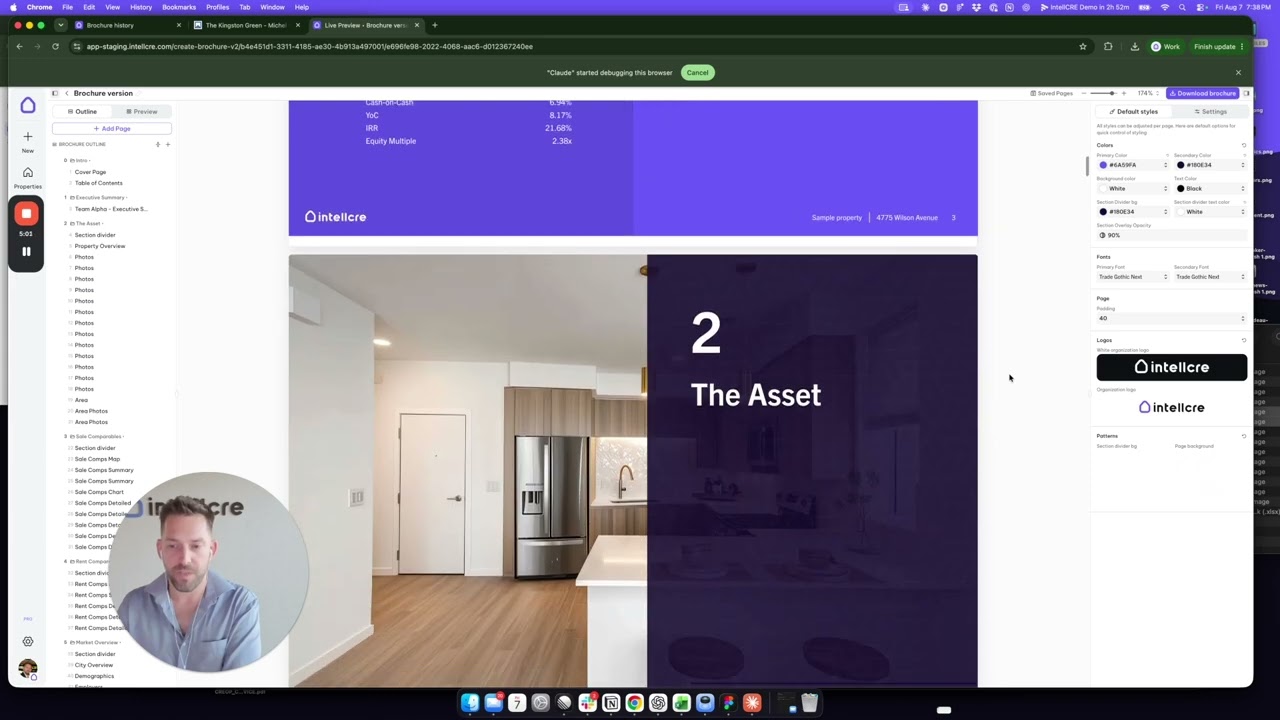
On the right side, you basically see the outline.
You see the sections: Intro, Asset, Tenant Overview, Sales Comps, Rent Comps, Market Overview, Advisory Bios, and Outro.
You can fully customize the outline.
Depending on what you need, let’s say I don’t need the Tenant Overview section.
Let’s say I want to have a section before this Asset section. I want to call it Executive Summary.
I can also remove pages from here. That is going to basically serve as my Executive Summary section in the outline.
Down here, you can click Add Section, or also from here.
I’m just going to add a section and call it Executive Summary.
Now, for this section, I’m going to add a page into the section, either by clicking these three dots and clicking Add New Page, or I can also add a new page from here and then reposition it as I need.
I’m going to add a new page.
The page that you’re adding can either be a system default page, such as a cell map or something, or it can be any page from your Saved Pages.
Using Saved Pages in an Outline
This is important to note: if I want to create an outline that contains my saved pages, the prerequisite is that I have a saved page first.
First, we want to make sure that we have the pages that we need in Saved Pages, and then create the outline using these saved pages.
I’m going to go to Saved Pages, and I’m just going to use this Team Alpha Executive Summary page.
Now I have the Executive Summary with this page there.
I want to make sure that this section actually comes right after the Intro.
And there it is.
Right after the Table of Contents, I’m going to have this Executive Summary page right here.
Once I’m happy with the outline, I can just leave.
This is all being autosaved.
And that is my My OM Outline 2.
Using a Saved Outline to Create a Brochure
Now, how do I use the saved outline?
I’m just going to go to Properties.
Or, in fact, I can create a new property.
I’m just going to go to Pick a Deal here.
For any property, you’re going to go to Brochures and now create a new brochure version using the new builder.
In the screen that you see, you have an Outline option here.
You can choose from the system default outlines, or you can choose from the outlines that you have preset in the system.
In this case, I’m going to use My OM Outline 2.
After you choose the outline to start the brochure, the brochure builder is going to initiate, and it’s going to basically pull or load up the outline that I saved.
Reviewing the Loaded Outline
Let’s review.
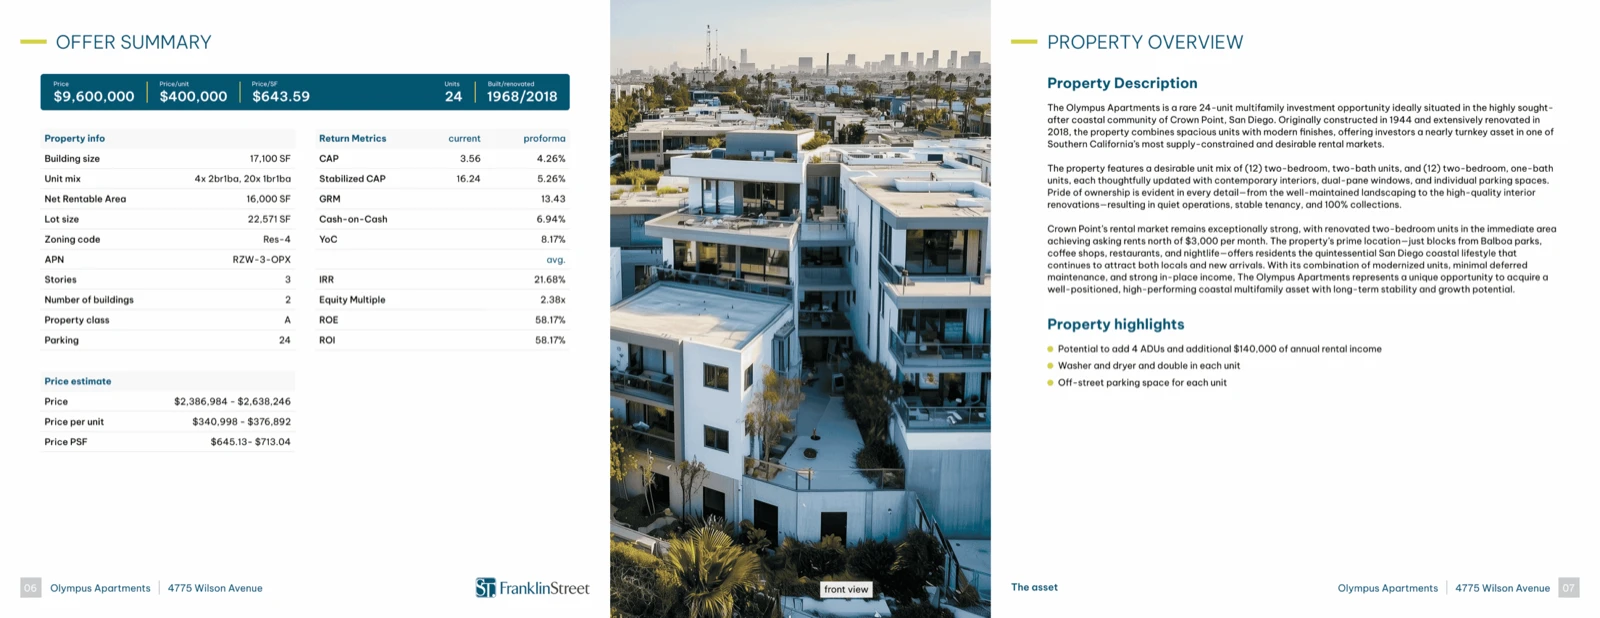
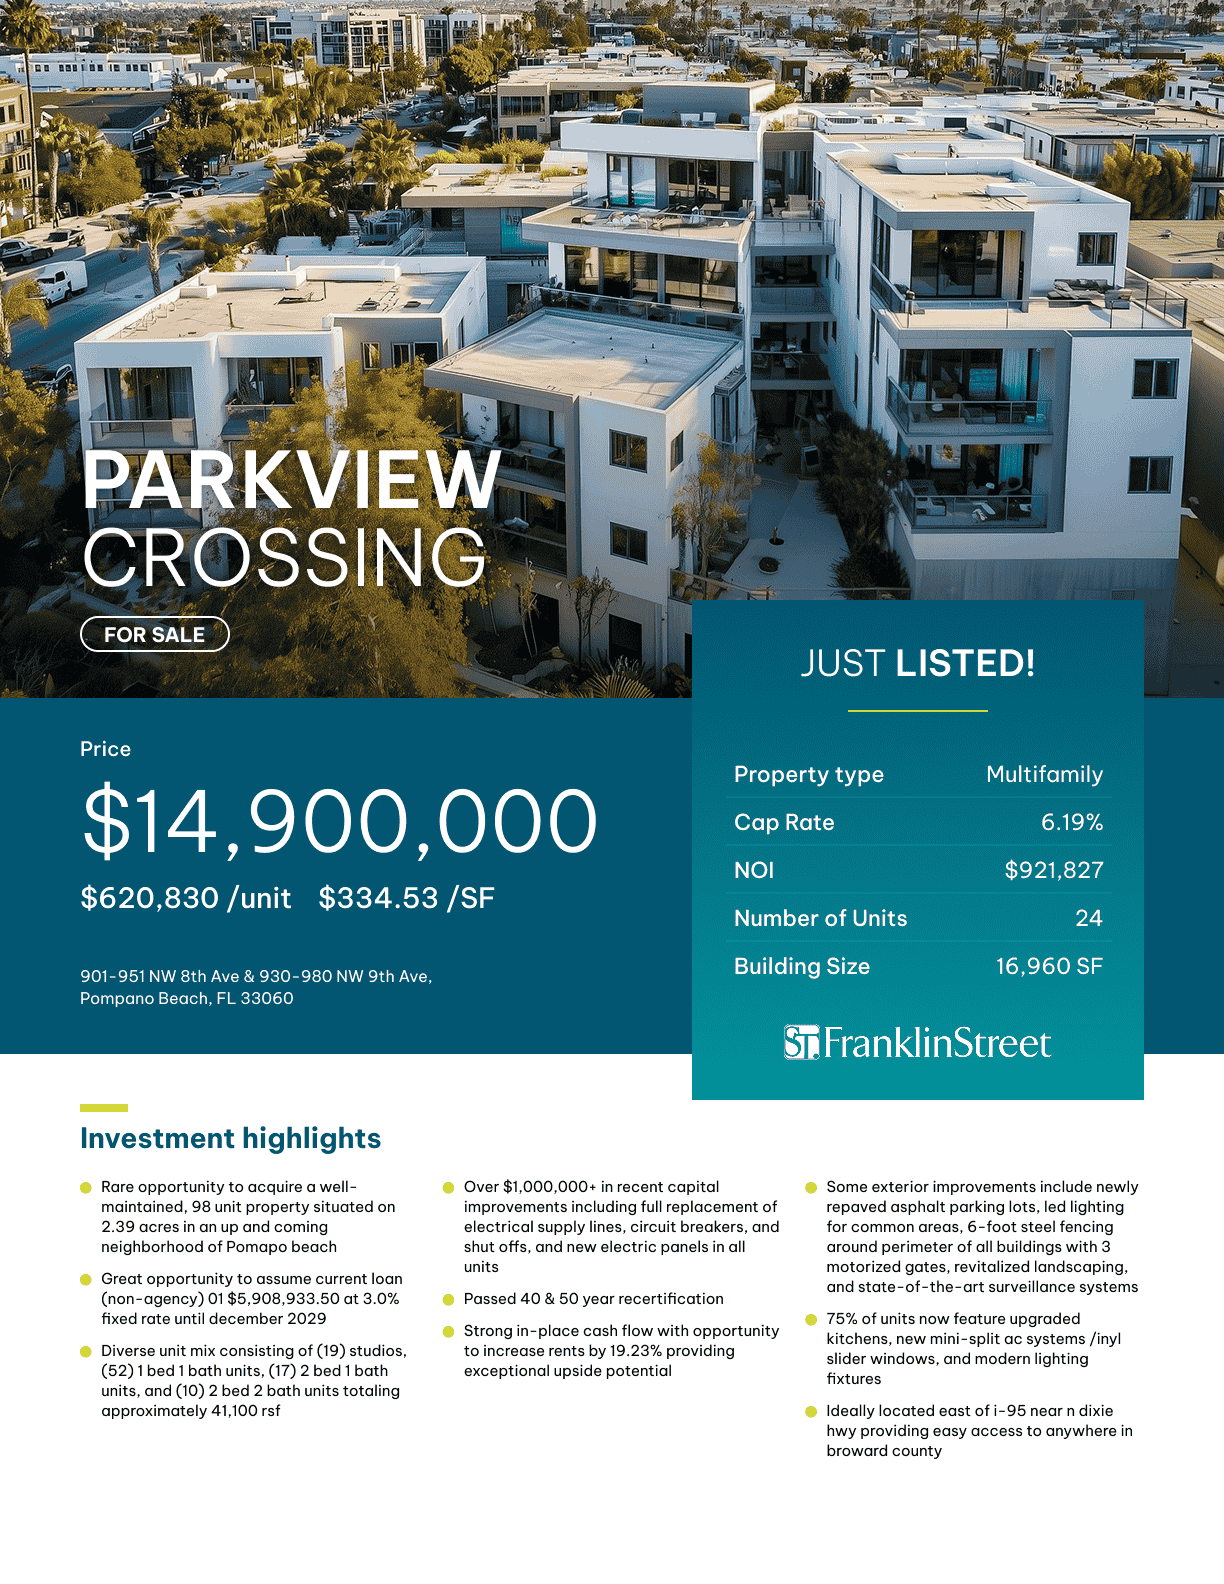
You see I have the Cover Page already flowing in with the main photo for this property.
I have the Table of Contents already flowing in. It’s the data, not just the photo, but also the contents and all of that.
Now I have the Executive Summary section, the Executive Summary page that I put in the outline.
It already contains the data from this deal.
Now I have the Asset pages and so on.
My entire outline basically loaded from my saved outline.
Migrating from the Old Builder
Quick summary, because this is very important.
For some of you that are still working in the older or old builder, what we want to do is basically migrate your workflow to the new builder because it’s much better, provides much more customization, and much higher quality of the resulting assets.
If you have some saved pages in the old builder, we’re going to migrate them to Saved Pages in the new builder.
If you need our help, just let us know. We’ll help you do that.
And then, also, if you have some outlines saved in the old builder, we would like to basically create those outlines in the new builder so that you can load up your outlines that you’re reusing — maybe a BOV outline, maybe a premium OM outline — in the new builder.
Where to Find Outlines
Again, where do you find the outlines?
You go to Settings → Outlines.
Here, you can basically see all the preconfigured outlines.
You can group them in folders and things like that.
Then, whenever you’re creating a deal and you’re starting a new brochure version, you can choose the outline that you like to use.
The outlines are basically a combination.
An outline is a set of pages and sections assembled into sections.
This can be a combination of the system default pages as well as fully custom saved pages that you have in the system.
Automating the Outline Workflow
Very excited from this update.
Just a quick note: we’re going to follow up with some features that automate this flow, such as the ability to create a custom page where you have a certain module.
Basically, we’re going to link that module to certain data that would be found in your data room.
Ultimately, very quickly, we’re going to have a system that not just loads the outline of your preference, with the design and branding and all that of your preference, but automatically funnels the data — such as photos, table data, text data, numbers, and everything else — into the correct place in the brochure automatically.
Let us know any feedback, and we keep building and keep making the system better for you.
Thank you.